Agreement
We use cookies on our website to provide you with the best possible experience. By clicking "Accept All" you agree to the use of all cookies and to our privacy policy.
The QES-Ident procedure
In this tutorial we would like to show you how to create your own qualified signature with sproof sign.
Updated on 27.04.2023

References and related links:
- Tutorial on self-signing
- Tutorial on batch signing
- Why do I actually need to identify myself? Read more in our blog article on identification and authentication

Step by step instructions
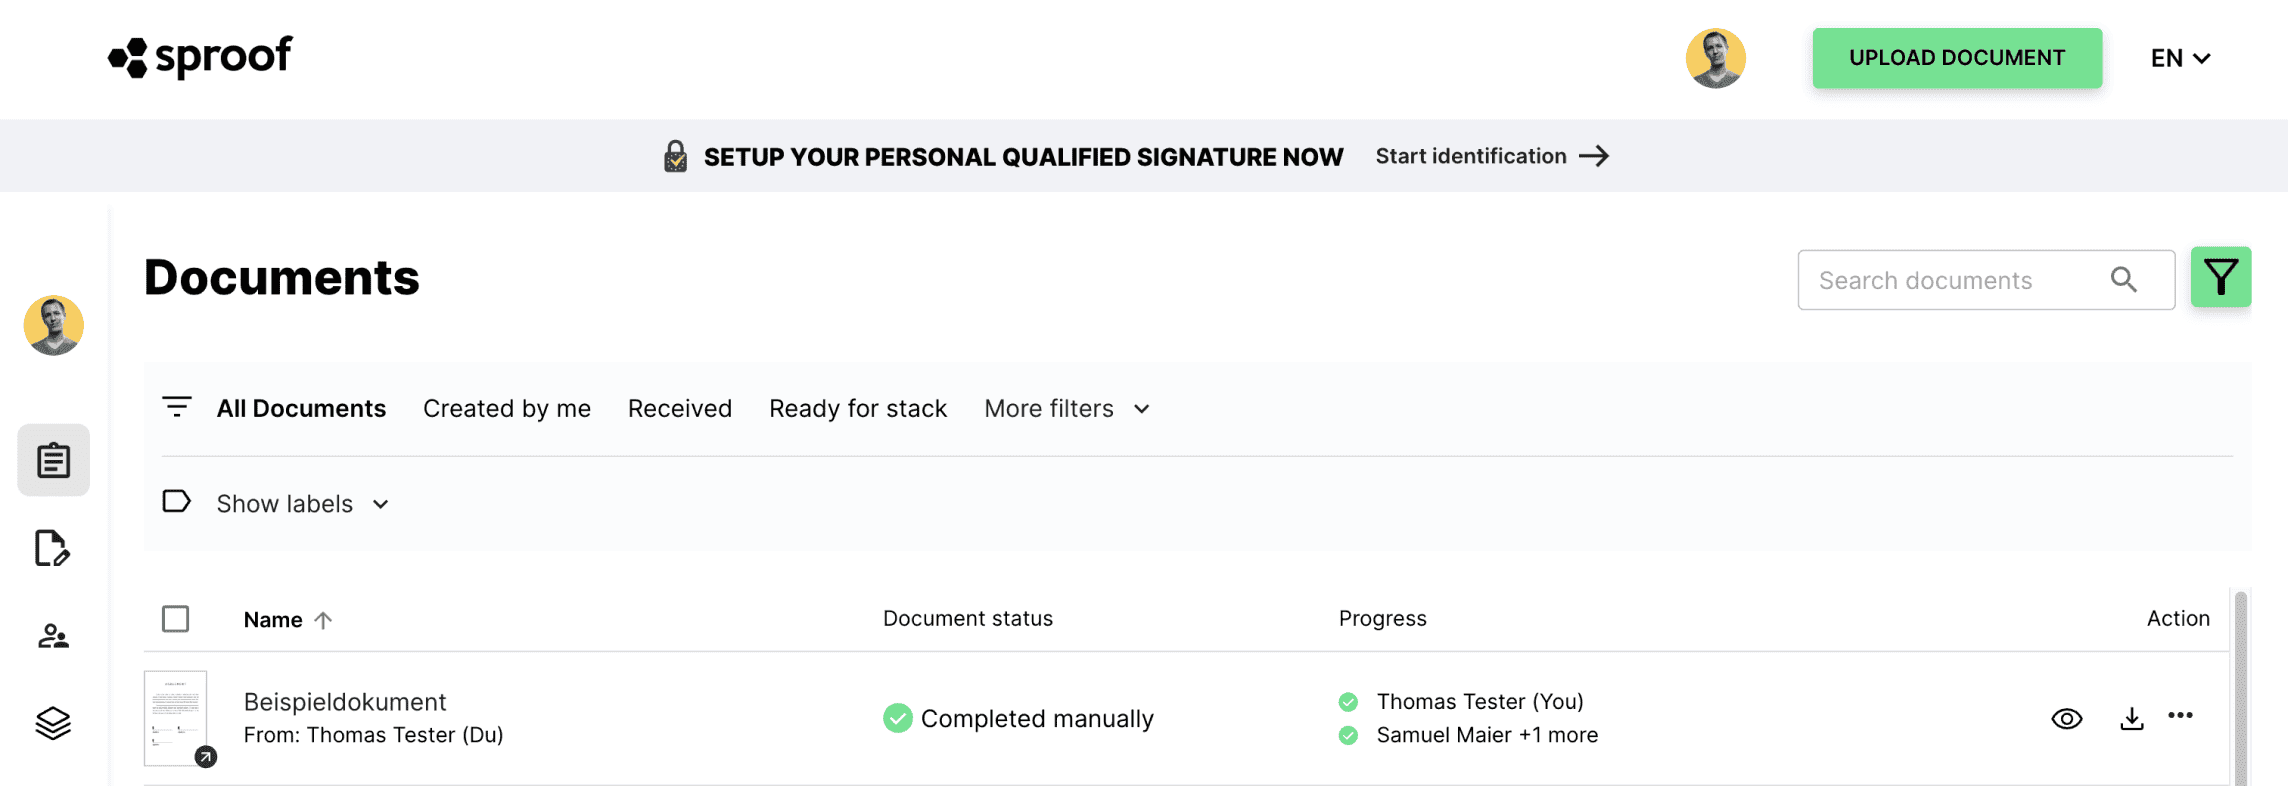
If you log in to sproof sign as a User+ and do not yet have a QES, you will be prompted to create a personal QES here at the top. Click "Start Identification" to begin the creation process.
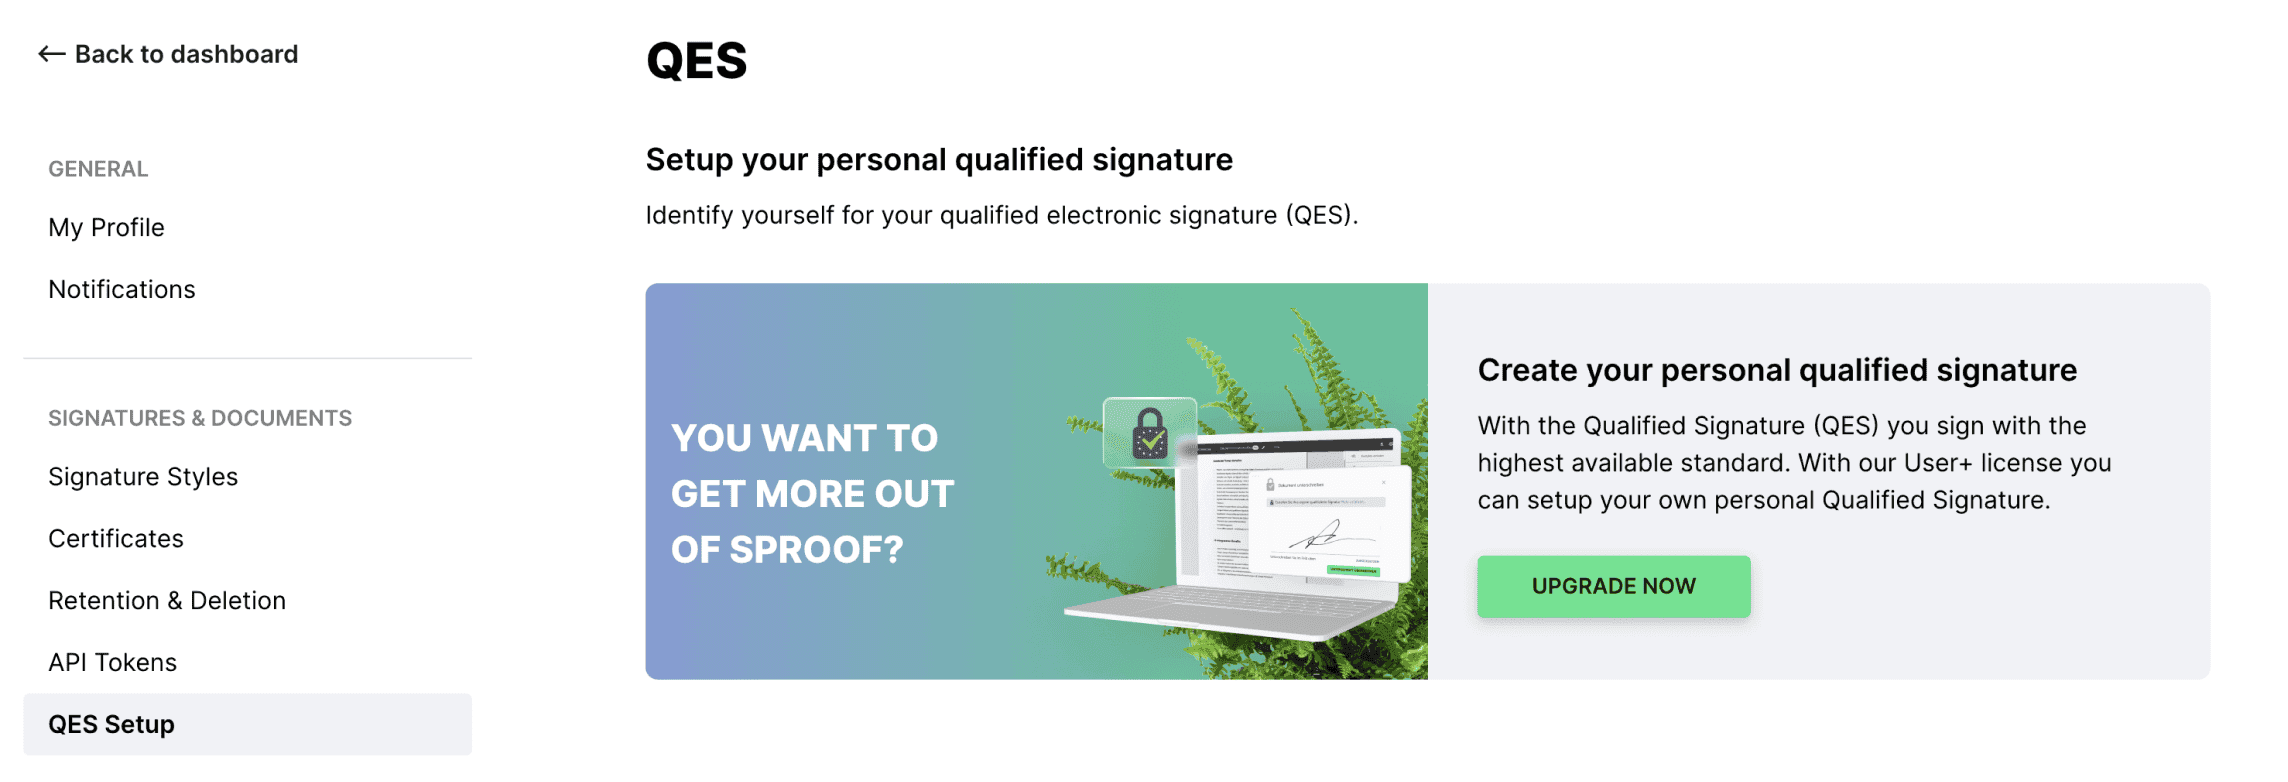
A second possibility to start the identification procedure can be found in the settings. Under QES Setup you can also start the identification procedure.
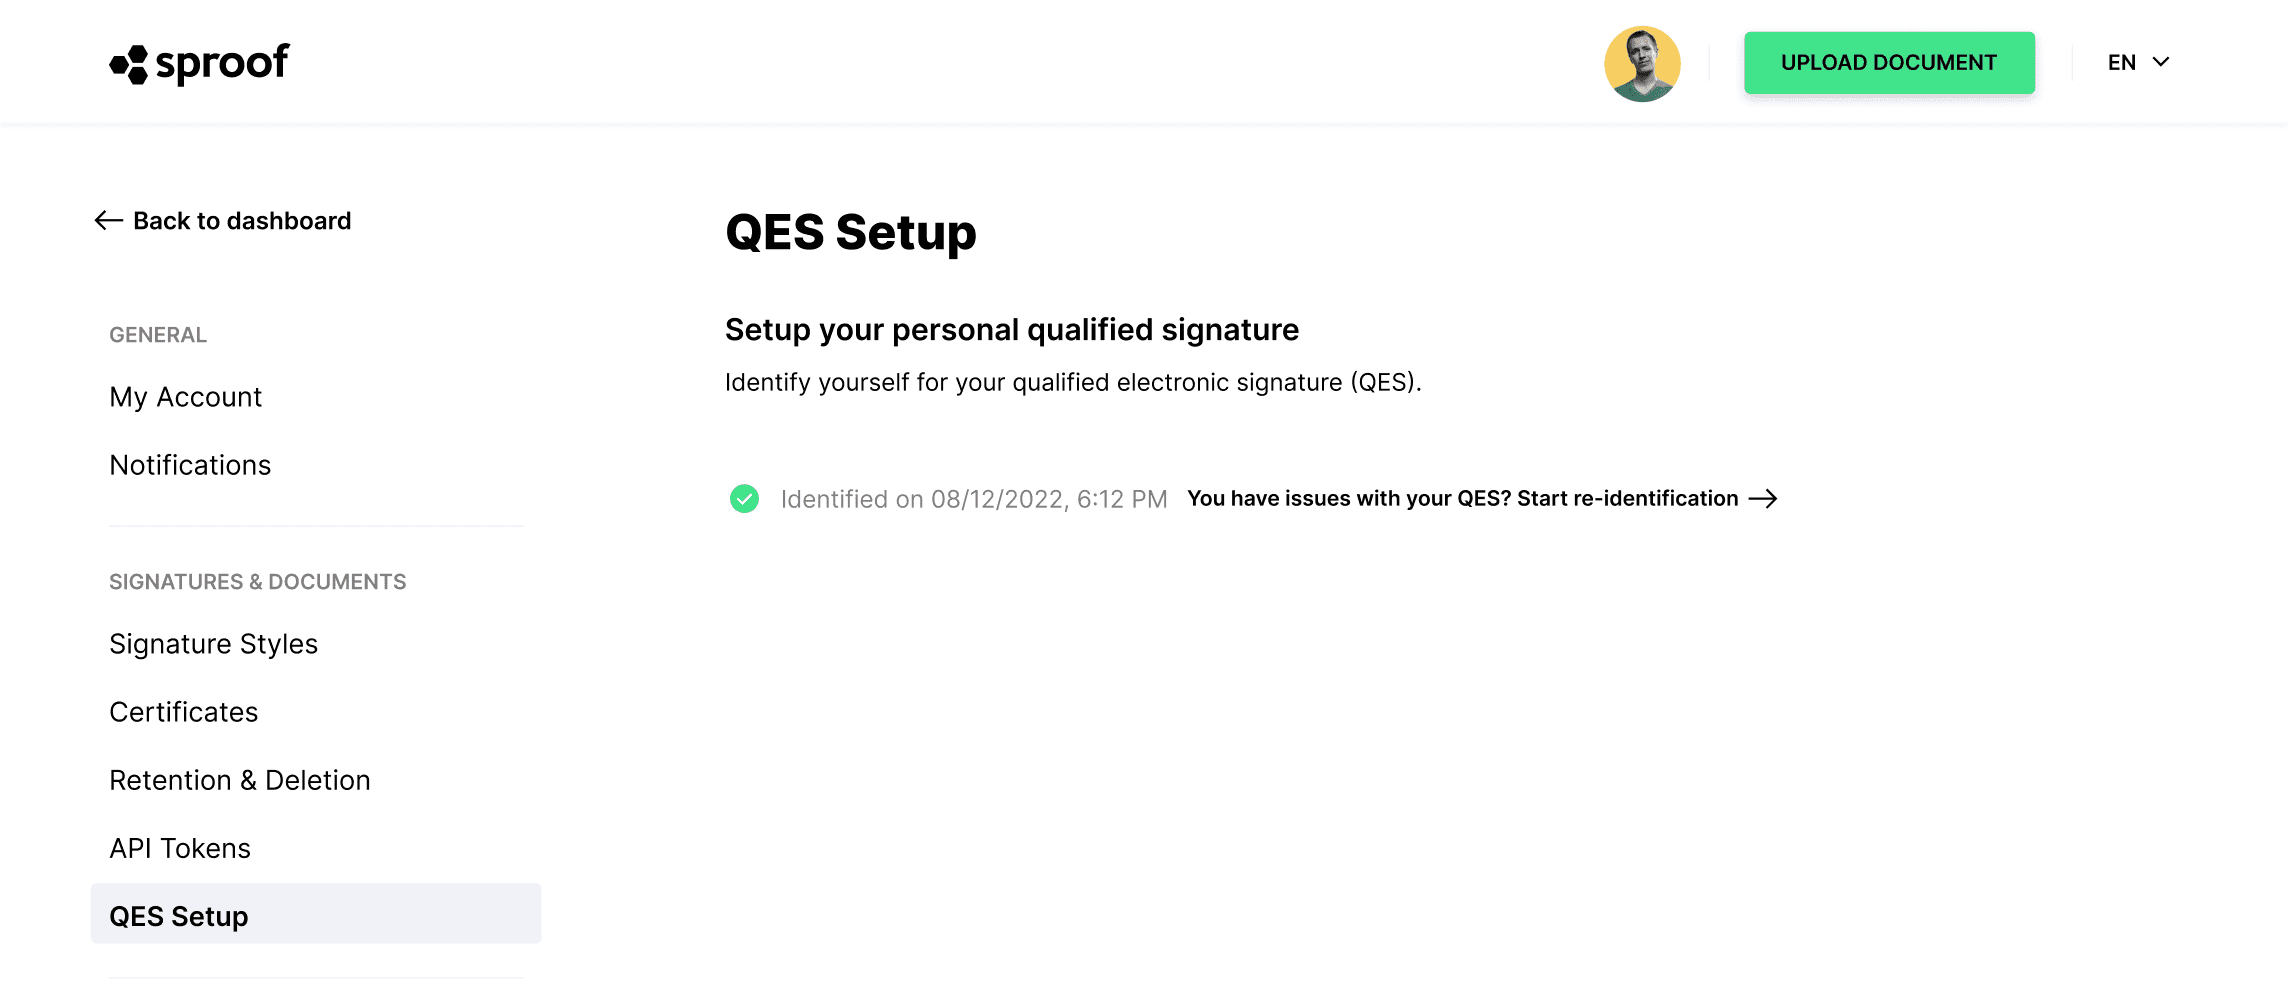
If you already have a QES, you can see when your identification took place under QES Setup, and you can "start a re-identification" if you have problems.
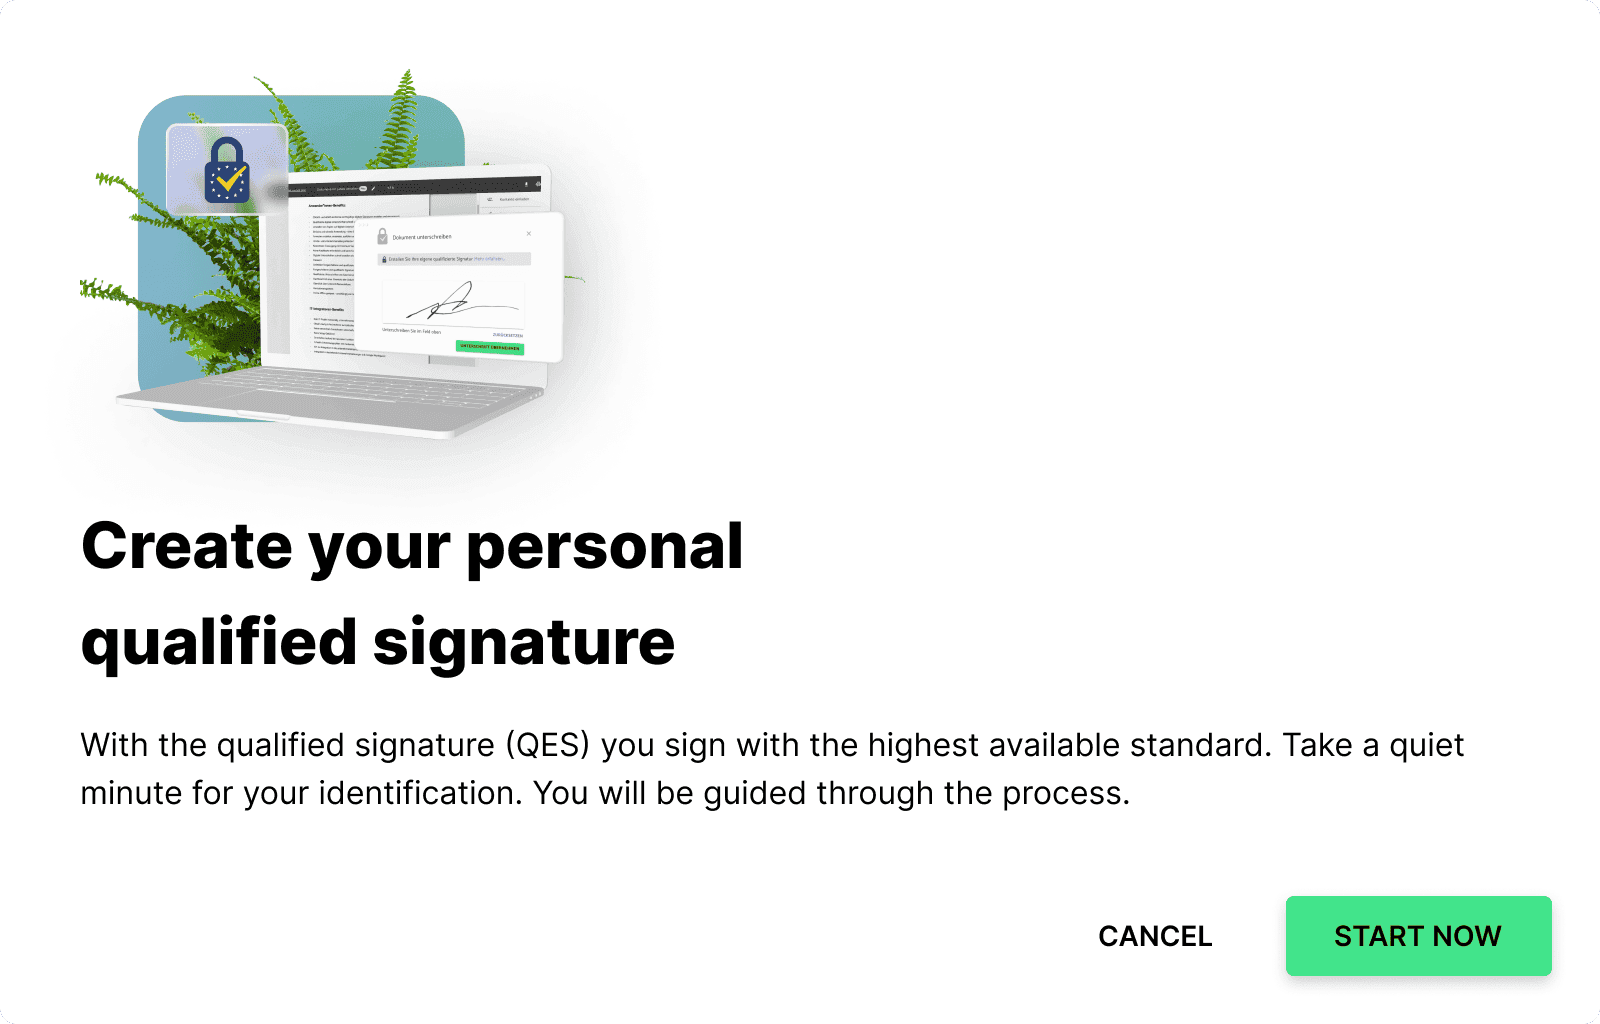
Once you have started the identification procedure, click "Start now" in the pop-up window.
When you start the identification process, you will be prompted to install the "mobile ID app" on your cell phone. Download the app and register once with your phone number. Follow the subsequent instructions in the app before clicking "Next" here.
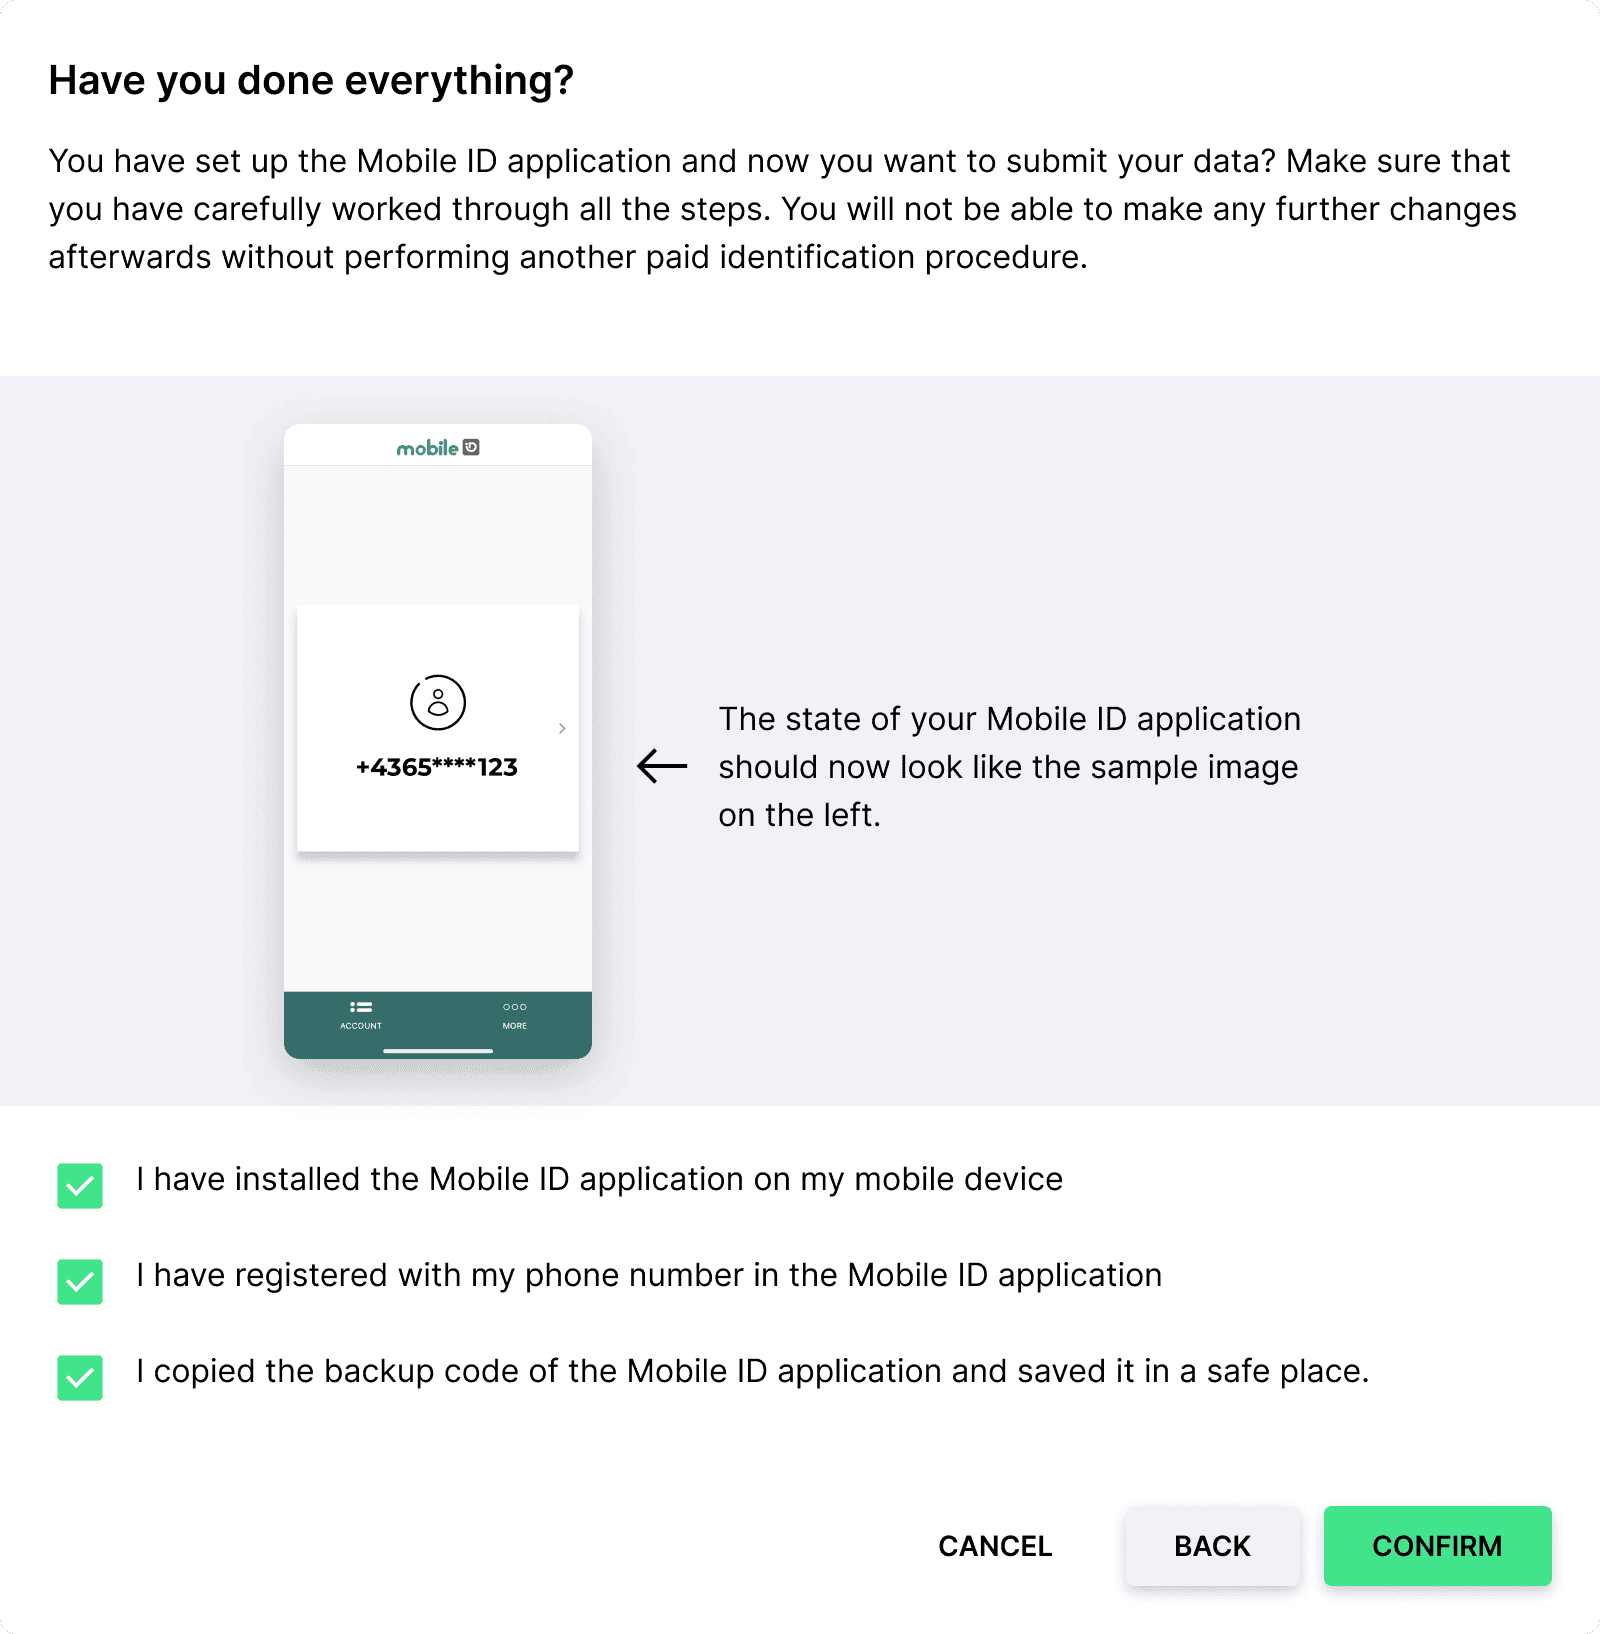
You have set up the Mobile ID application and now you want to submit your data? Make sure you have worked through all the steps carefully. You will not be able to make any further changes after this without going through another paid identification process.
Check all three checkboxes if you can answer yes to all three statements. When you have agreed to all statements, click "confirm".
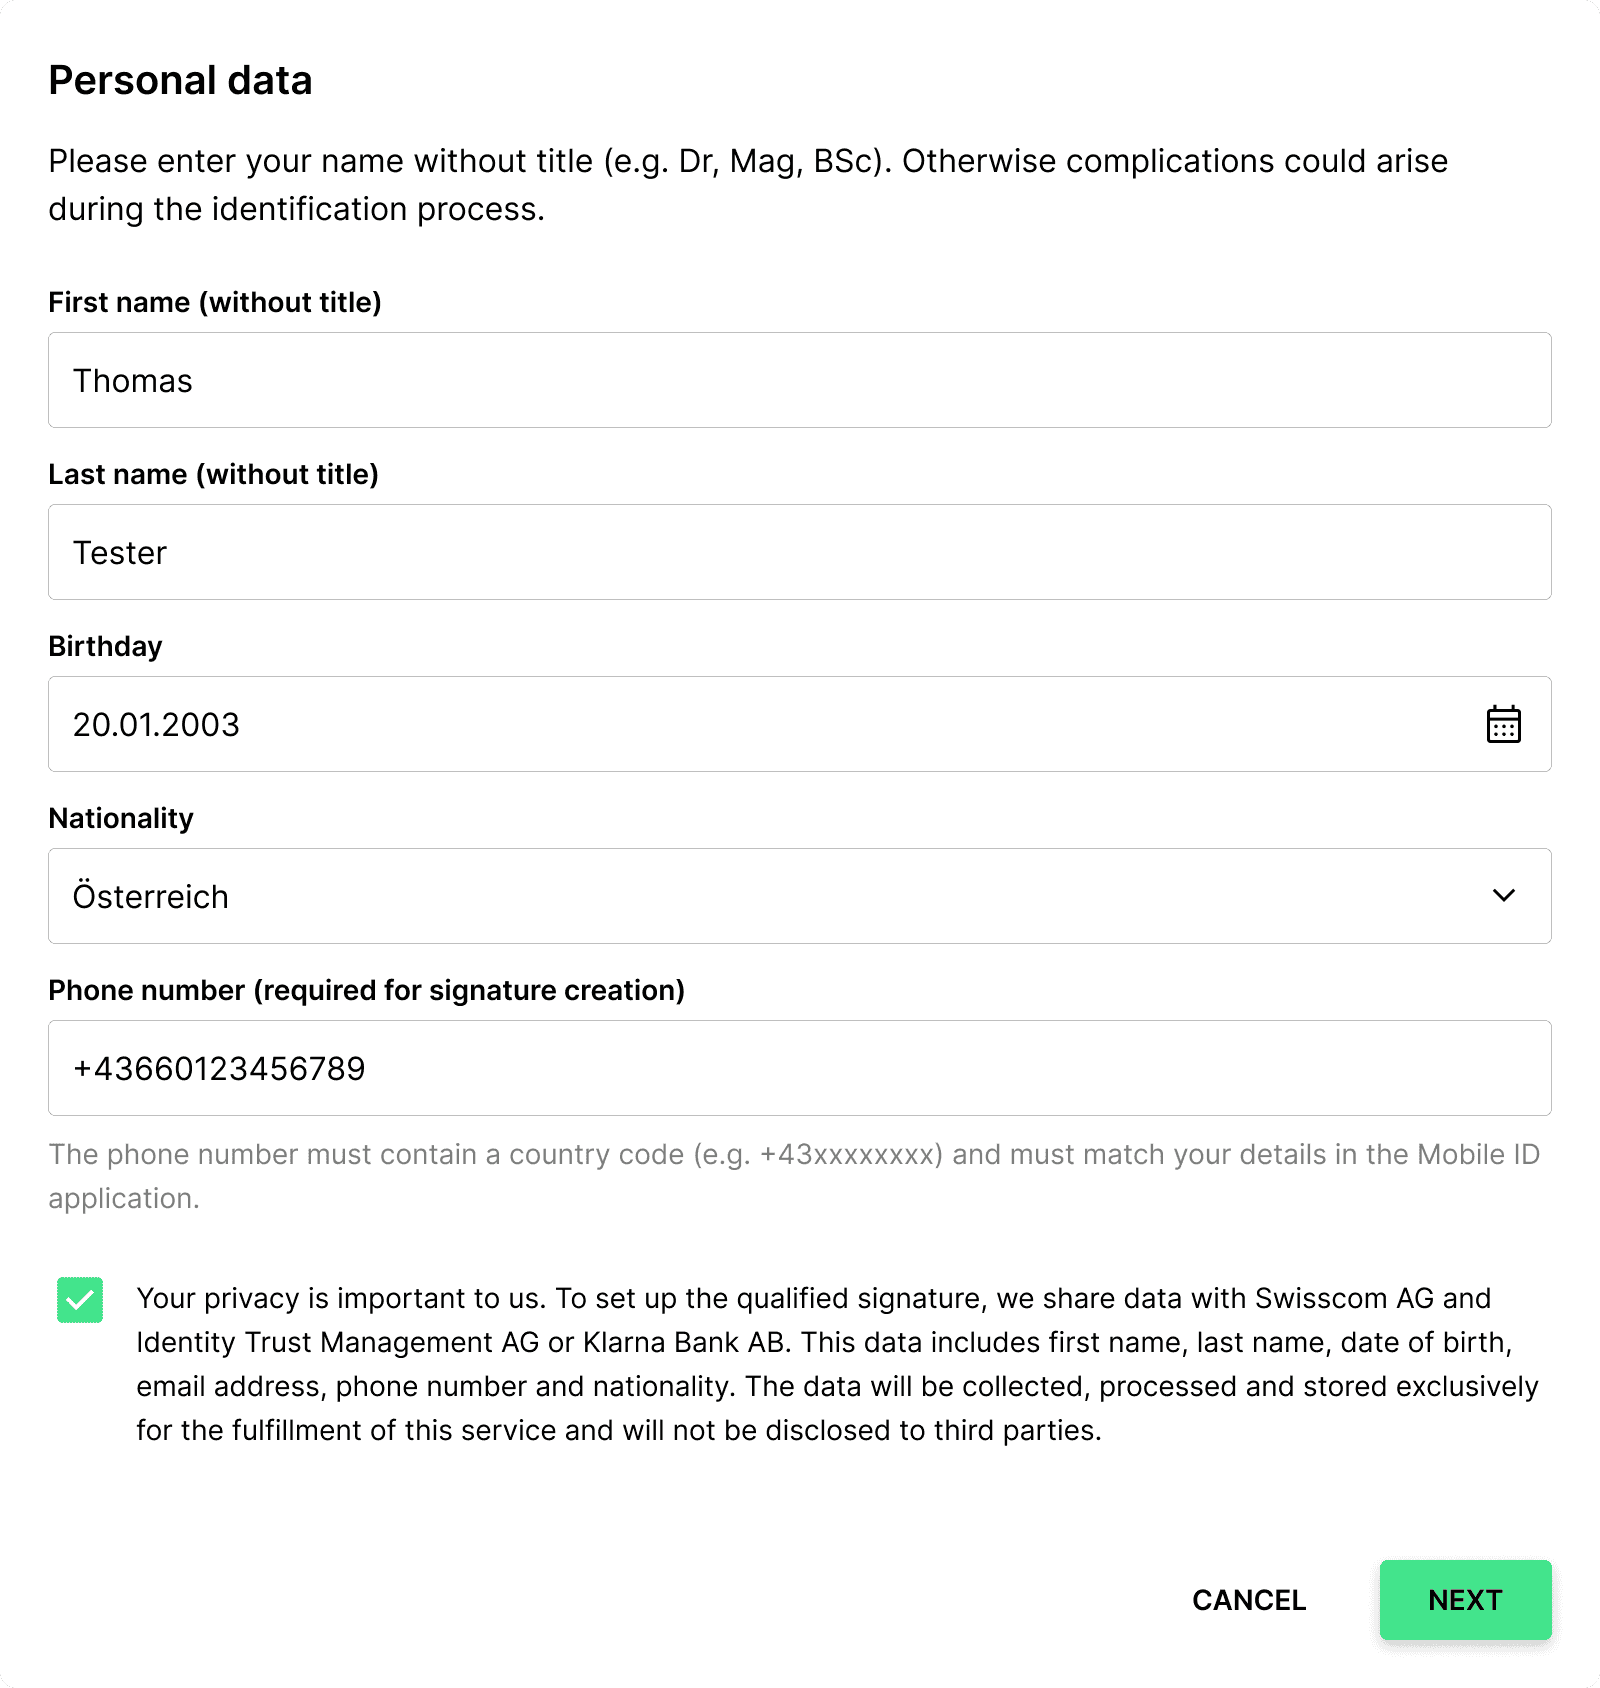
Fill in your personal data in the form now and accept the data processing policy. Be sure to include your name without title.
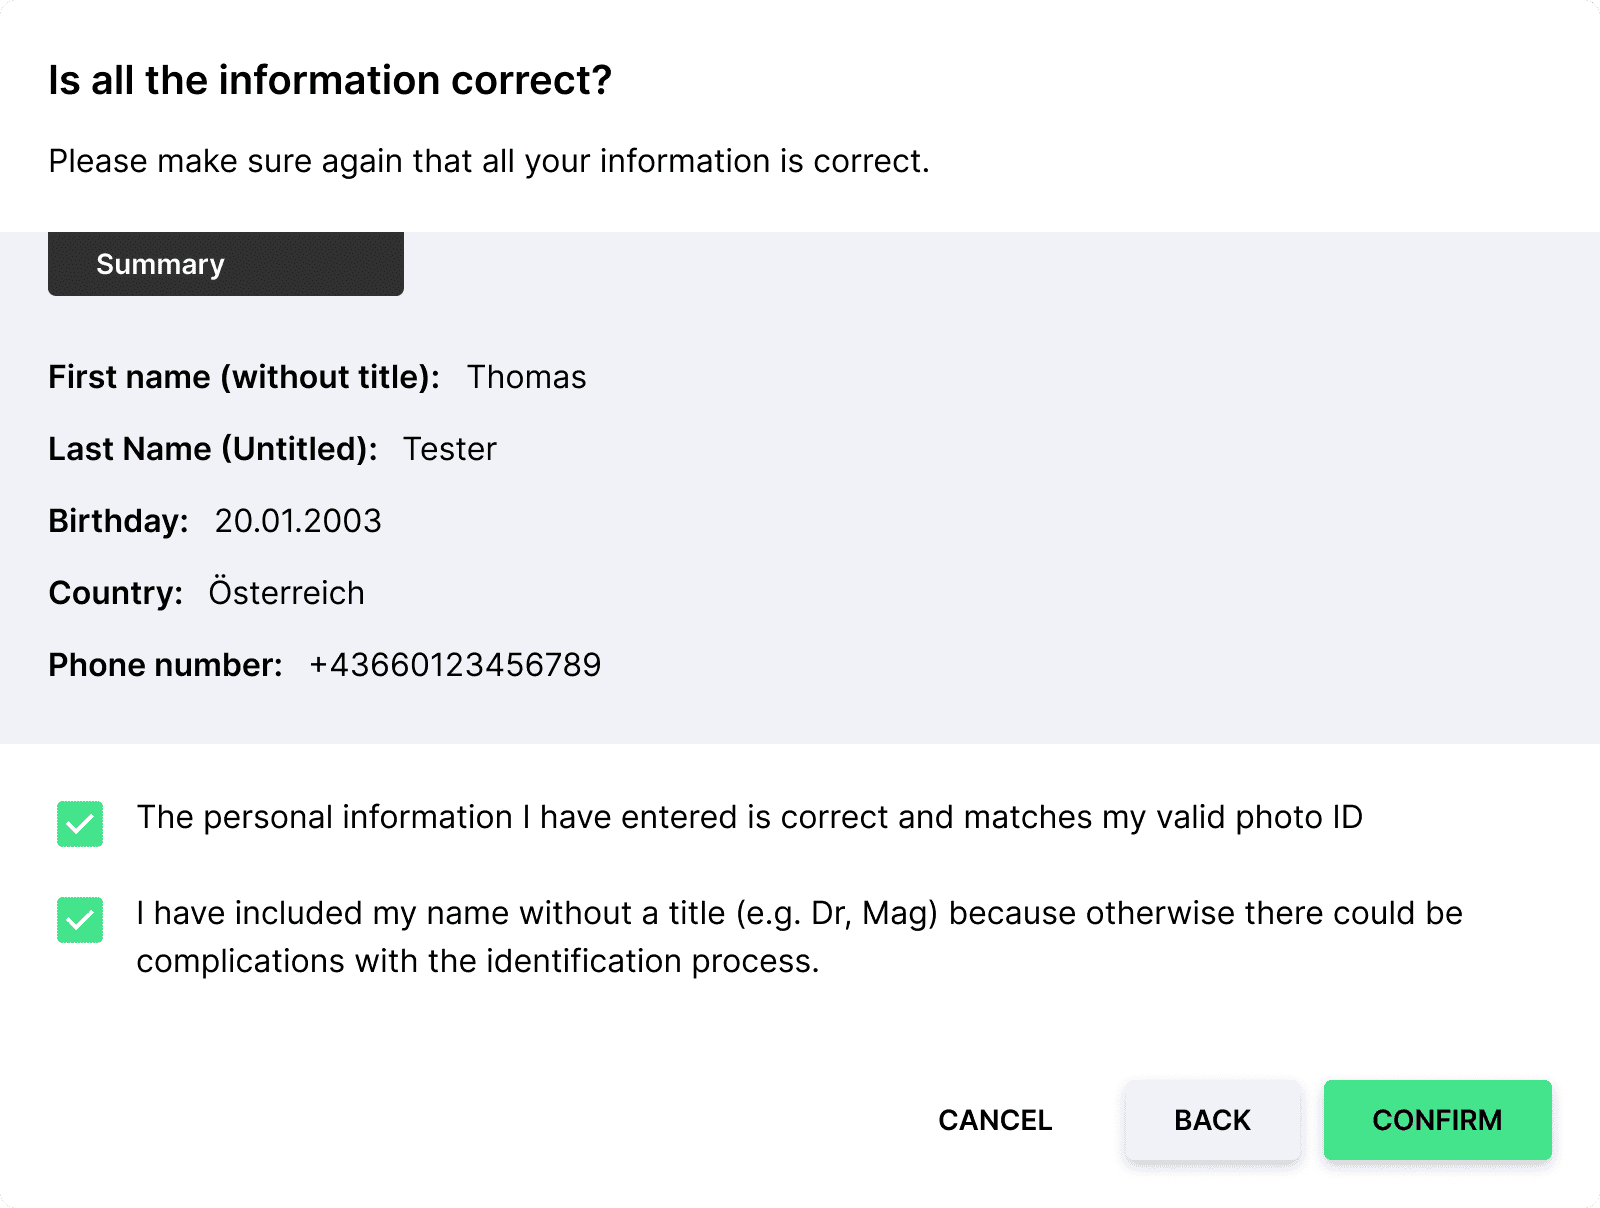
In the next step, check your information. If your data is correct and matches your valid photo ID, then check the checkboxes here.
Finally click on "confirm".
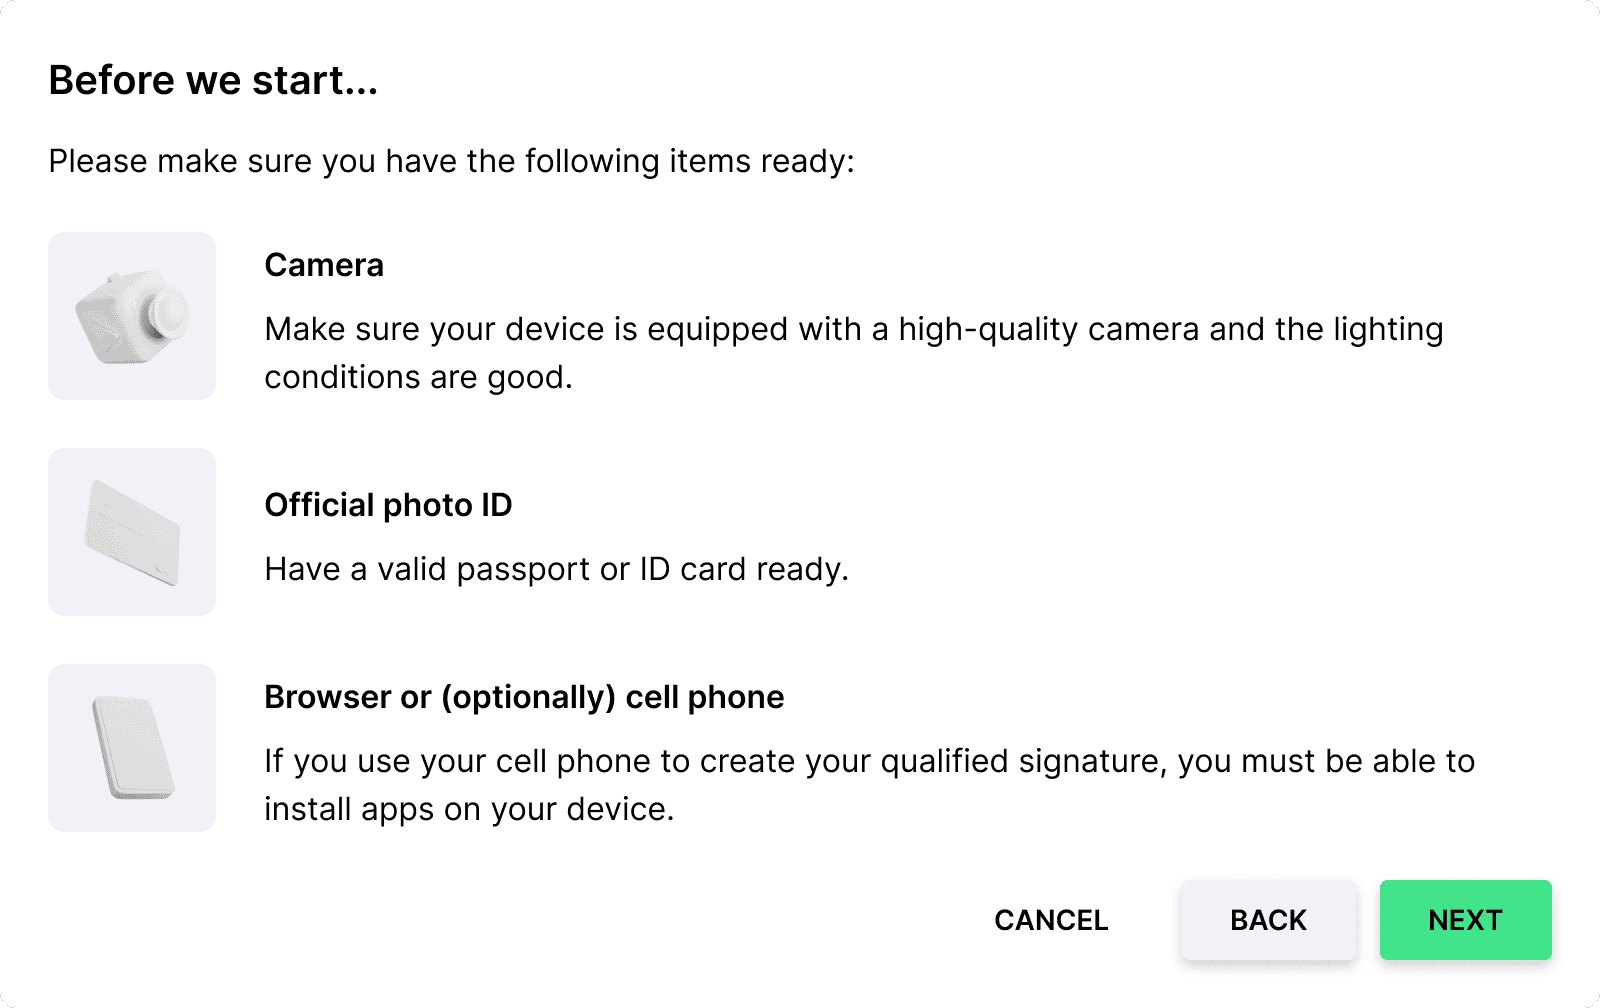
Now you will be told what you need to prepare for video identification in the next step.
- Make sure your device is equipped with a quality camera and the lighting conditions are good.
- Have a valid passport or identity card handy.
- If you are using your mobile phone to create your qualified signature, you must be able to install apps on your device.
Are you ready? Then click continue.
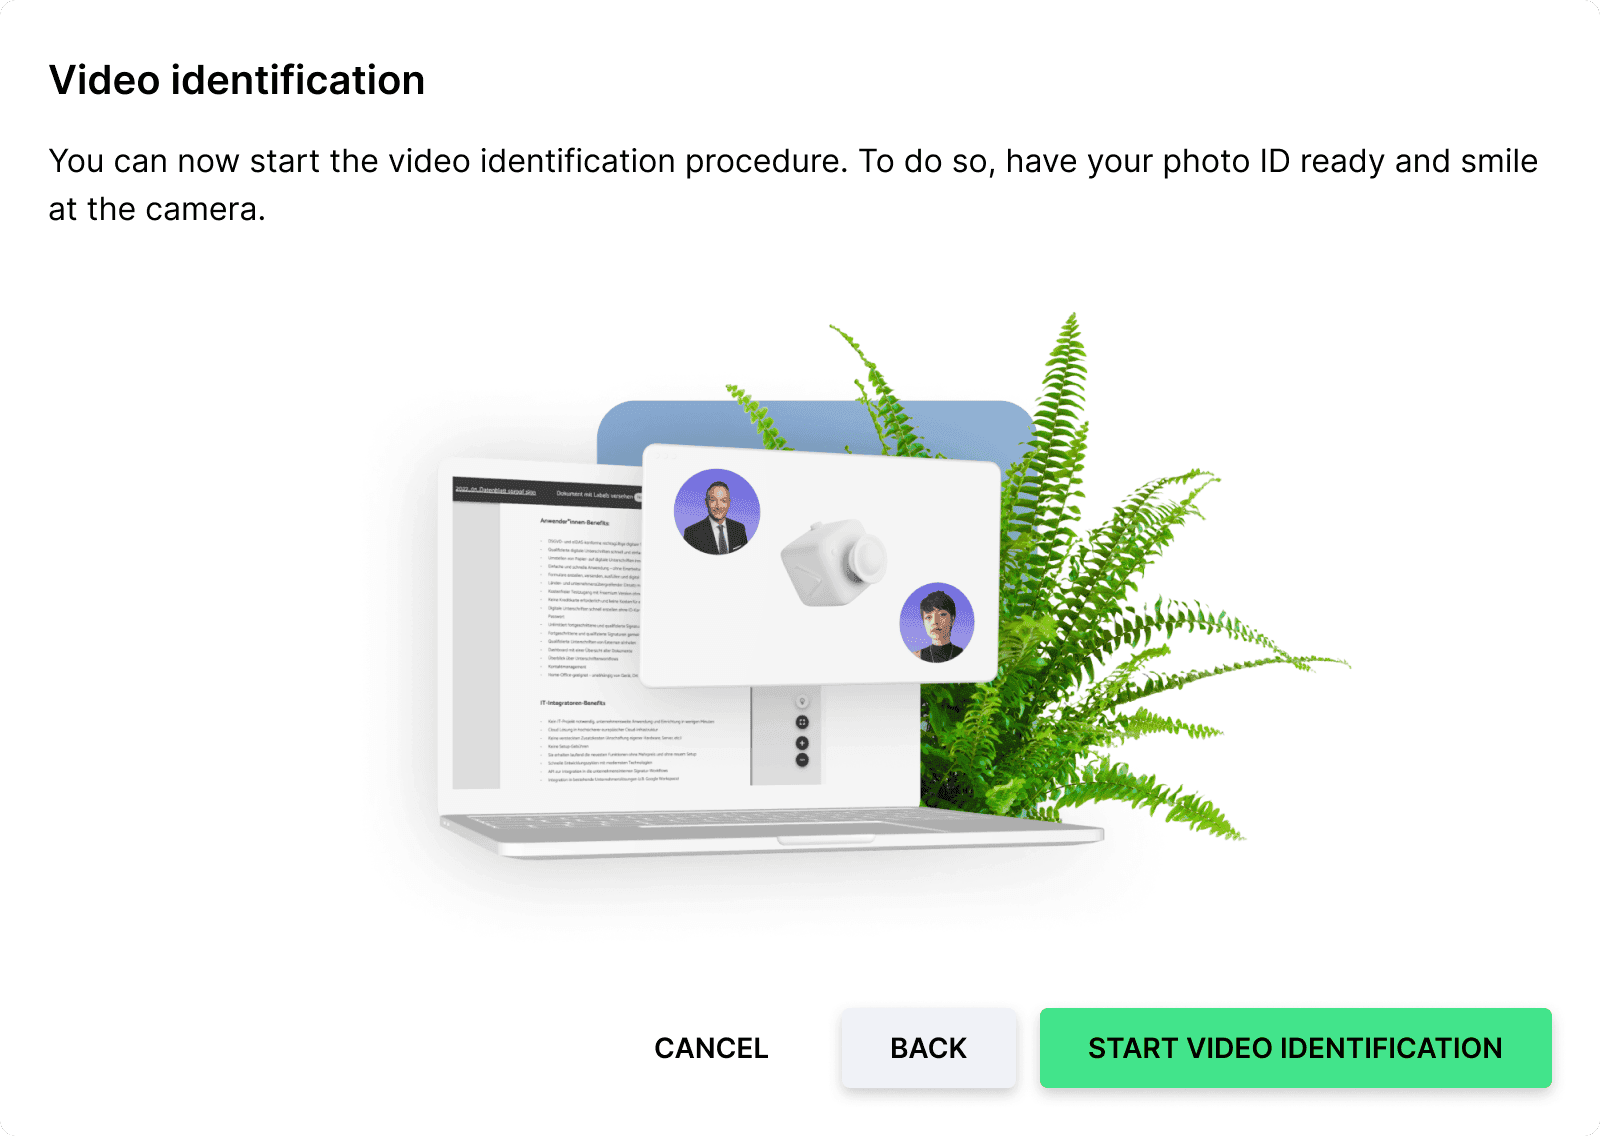
You can now begin the video identification process. To do this, have your photo ID ready and smile at the camera. Click here on "Start video identification".
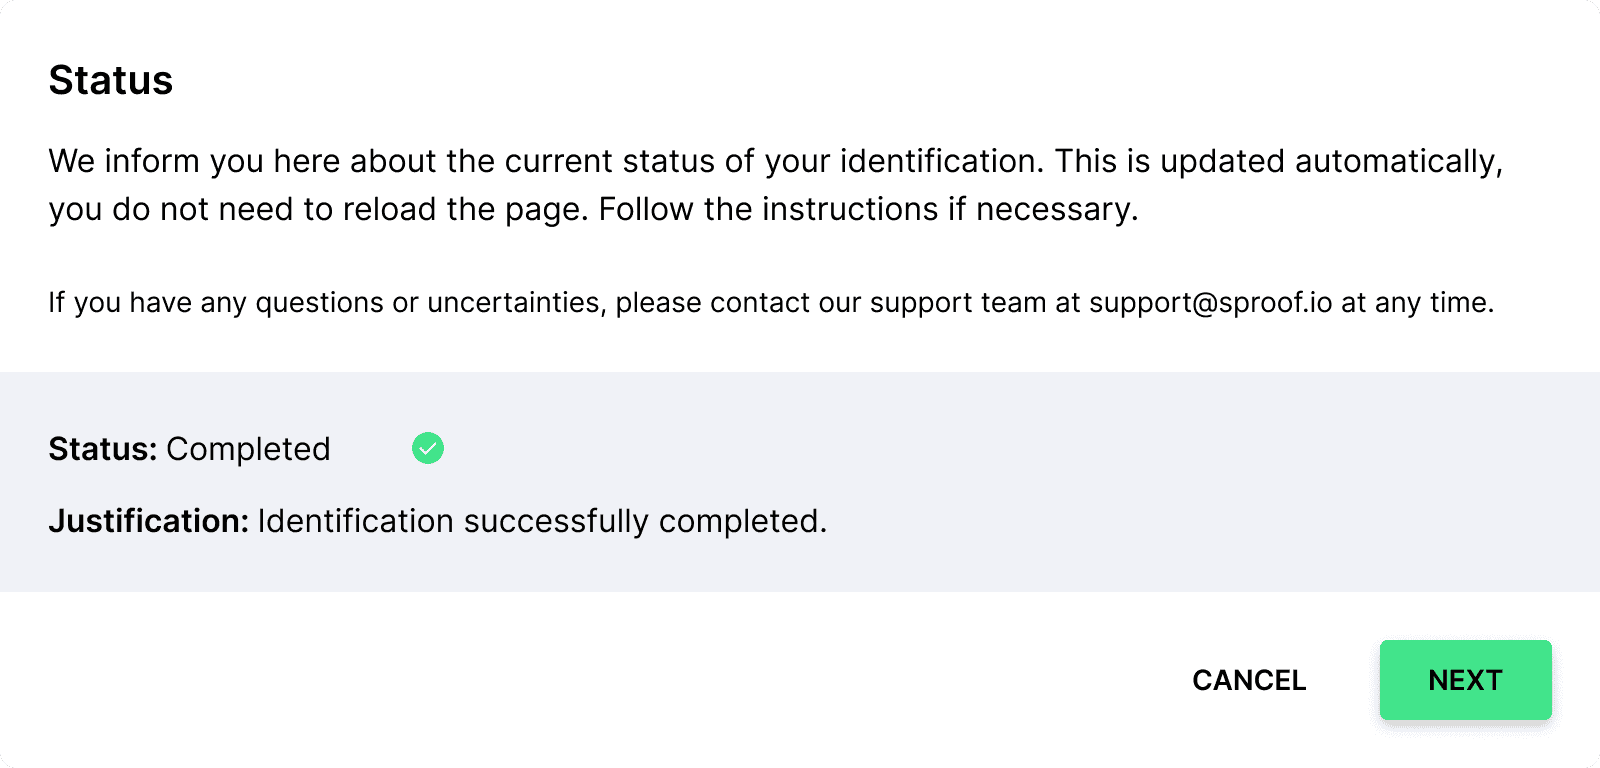
After the identification procedure, you can view your current status (Pending, Rejected, Completed) with reason. At Completed status, you can click continue and confirm a test signature request.
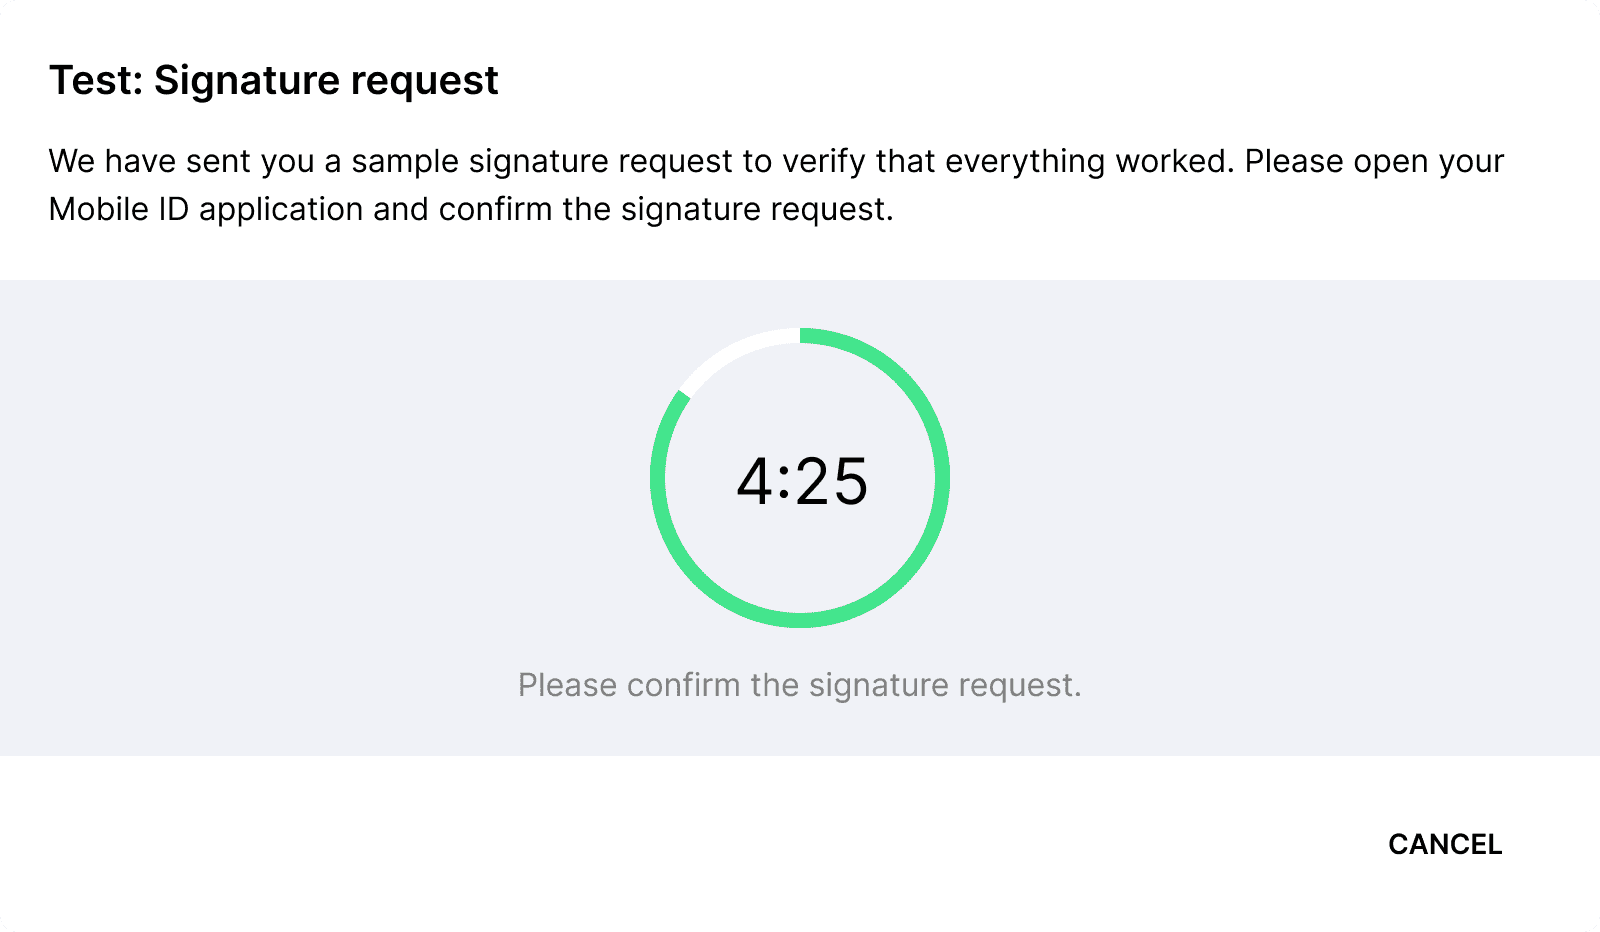
A sample signature request will be sent to you to check if everything worked. Please open your Mobile ID application and confirm the signature request.
If the time is up, you can click "request again" to start a new test.
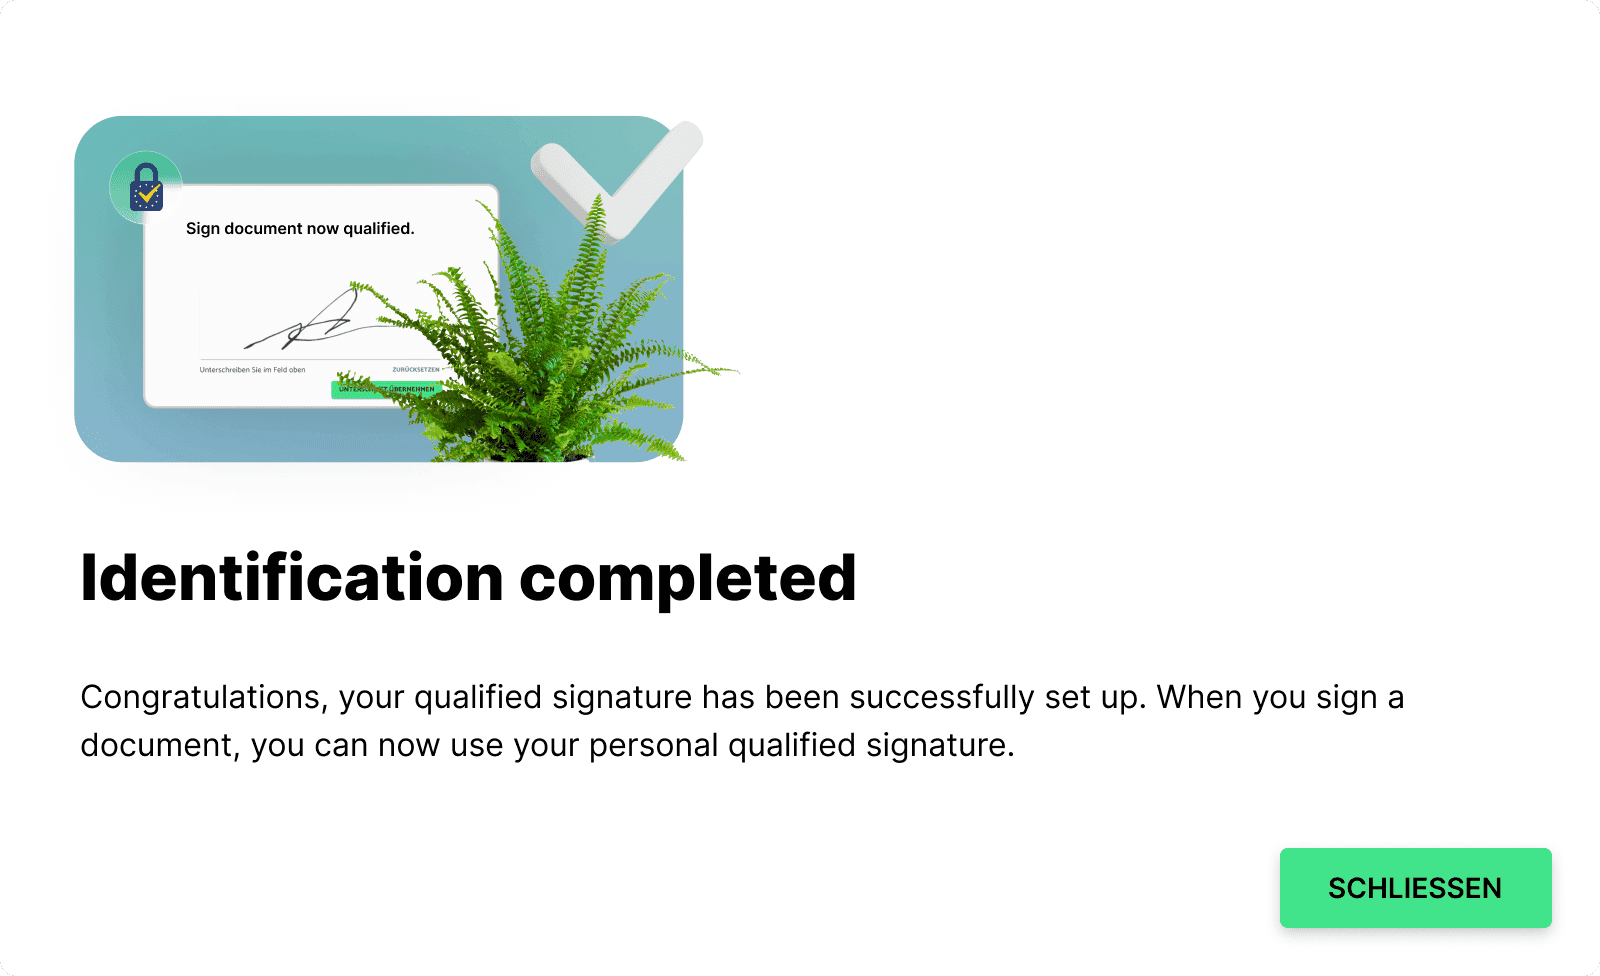
If the sample signature request was successfully confirmed by you, your identification is complete. From now on, you can use qualified signing with sproof and can thus now also use the batch signature.