We value your privacy!
We use cookies on our website to offer you the best experience. By clicking "accept & close", you agree to the use of all cookies according to our and our . If you do not make a selection, our default cookie settings will be applied. You can change your settings at any time.
Essential cookies: They are required for the proper functioning of the website. First-party- und third-party-cookies: They are optional and are set by us or our subcontractors. Session and persistent cookies: Are automatically deleted when the browser is closed. Persistent cookies are cookies that remain on your computer/device for a certain period of time after the browser is closed.
The dashboard - the document view
In this tutorial, we want to show you how you can use sproof sign's intelligent document management to easily control your signature processes and keep track of progress.
Updated on 26.04.2023
References from the video and further links:
- Tutorial for self-signing
- Tutorial on obtaining signatures (without workflow)
- Tutorial on obtaining signatures ( with workflow)
- Batch signature tutorial
- Tutorial on the audit trail

Step by step instructions
By clicking on the logo and then on "Documents" on the left, you can quickly access your document view or dashboard at any time and from anywhere.
The dashboard is the place where all the documents that you send or that are sent to you are collected.

- You can enter a search term directly in the search bar and search for your documents.
- By clicking on the filter symbol, the most important filters are displayed and you can restrict the search.
- Click on "More filters" to see all other filters.
- You can also filter by labels, which you can assign to each document individually.
- To find documents, you have the option of sorting them by name or creation date.
But how should the list of documents be read?

Very simple!
On the far left you will see a thumbnail view of the document(s). The small black dot with a white arrow in the bottom corner of the document means "Inbox", you have received a document for signing, or "Outbox", you have sent a document for signing.
Under the name of the document, you can see who uploaded or sent the document. The small symbol next to the document name indicates that the document is in the batch ready for signature. We have prepared a separate tutorial for the batch signature.
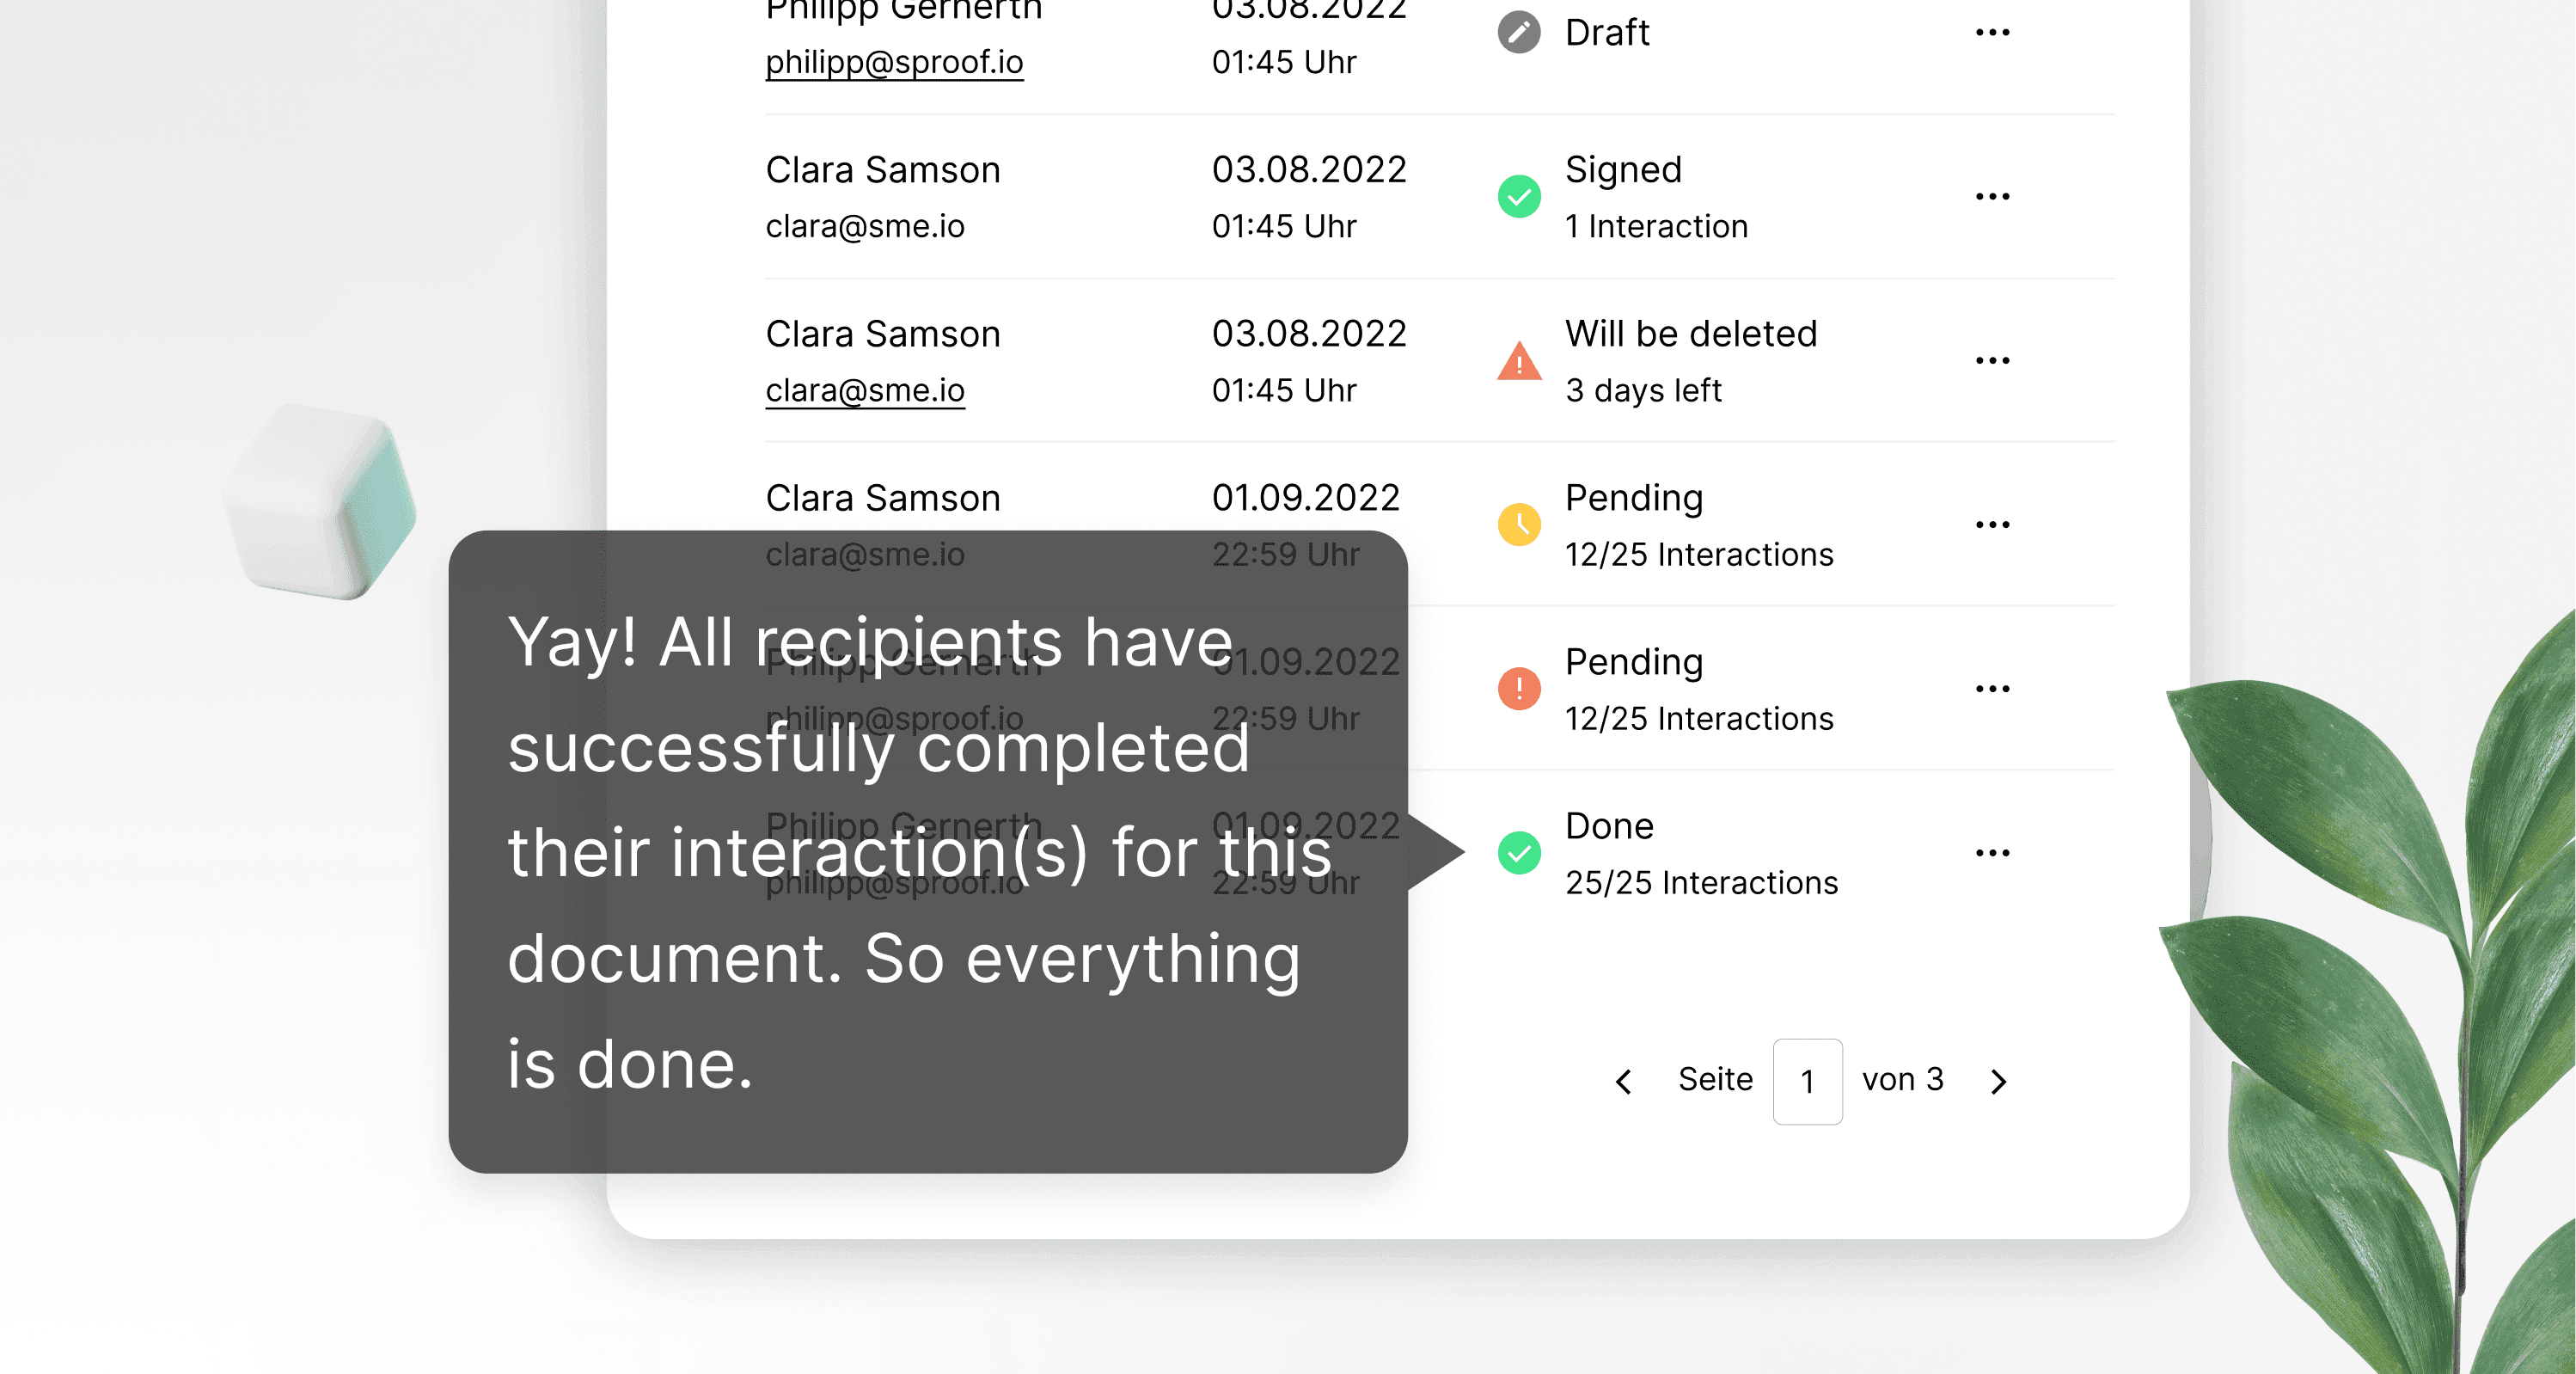
To the right of the creation date, you can see the document status. If you move the mouse over the symbol, you will see the exact meaning of the respective status. For example, if you upload a document and leave the editing mode immediately, the document will end up as a draft in the dashboard.
To the right of the status, under progress, you can see who the document has been shared with and whether they have already performed a required action. You can use the mouse to display the complete progress information again.
Click on the eye to open the document preview.
If you want to download the document including the attached signatures, click on the arrow next to the eye.
To quickly add a document to the stack, click on this stack symbol with a plus. This icon is only visible if you have been invited to sign and a placeholder has been defined.
To remove a document from the stack without switching to the signature stack view, click on the stack icon with a minus sign.
You can use this button to deactivate all notifications about changes to the document status.

For all other actions, click on the three dots. In addition to some standard actions, some of which have already been explained, you also have access to some advanced functions from here.
- You can save documents as a template,
- change the status,
- addlabels or
- Mute notifications for this document
- Download an audit trail for this document
We have provided separate videos for these functions.
We hope you enjoy the simple process of obtaining signatures with sproof sign.