Agreement
We use cookies on our website to provide you with the best possible experience. By clicking "Accept All" you agree to the use of all cookies and to our privacy policy.
Collection of signatures (without signature workflow)
In this tutorial we will show you how to collect signatures in a flash with sproof sign.
Updated on 13.04.2023

References from the video and related links:
- Tutorial on Collecting signatures (with signature workflow)
- Tutorial on Creating and managing contacts
- Tutorial on Signature Progress & Reminder Function

Step by step
In this tutorial, we will show you how to collect signatures in a flash with sproof sign.
Once you are logged in, you can upload a document in the top right corner.
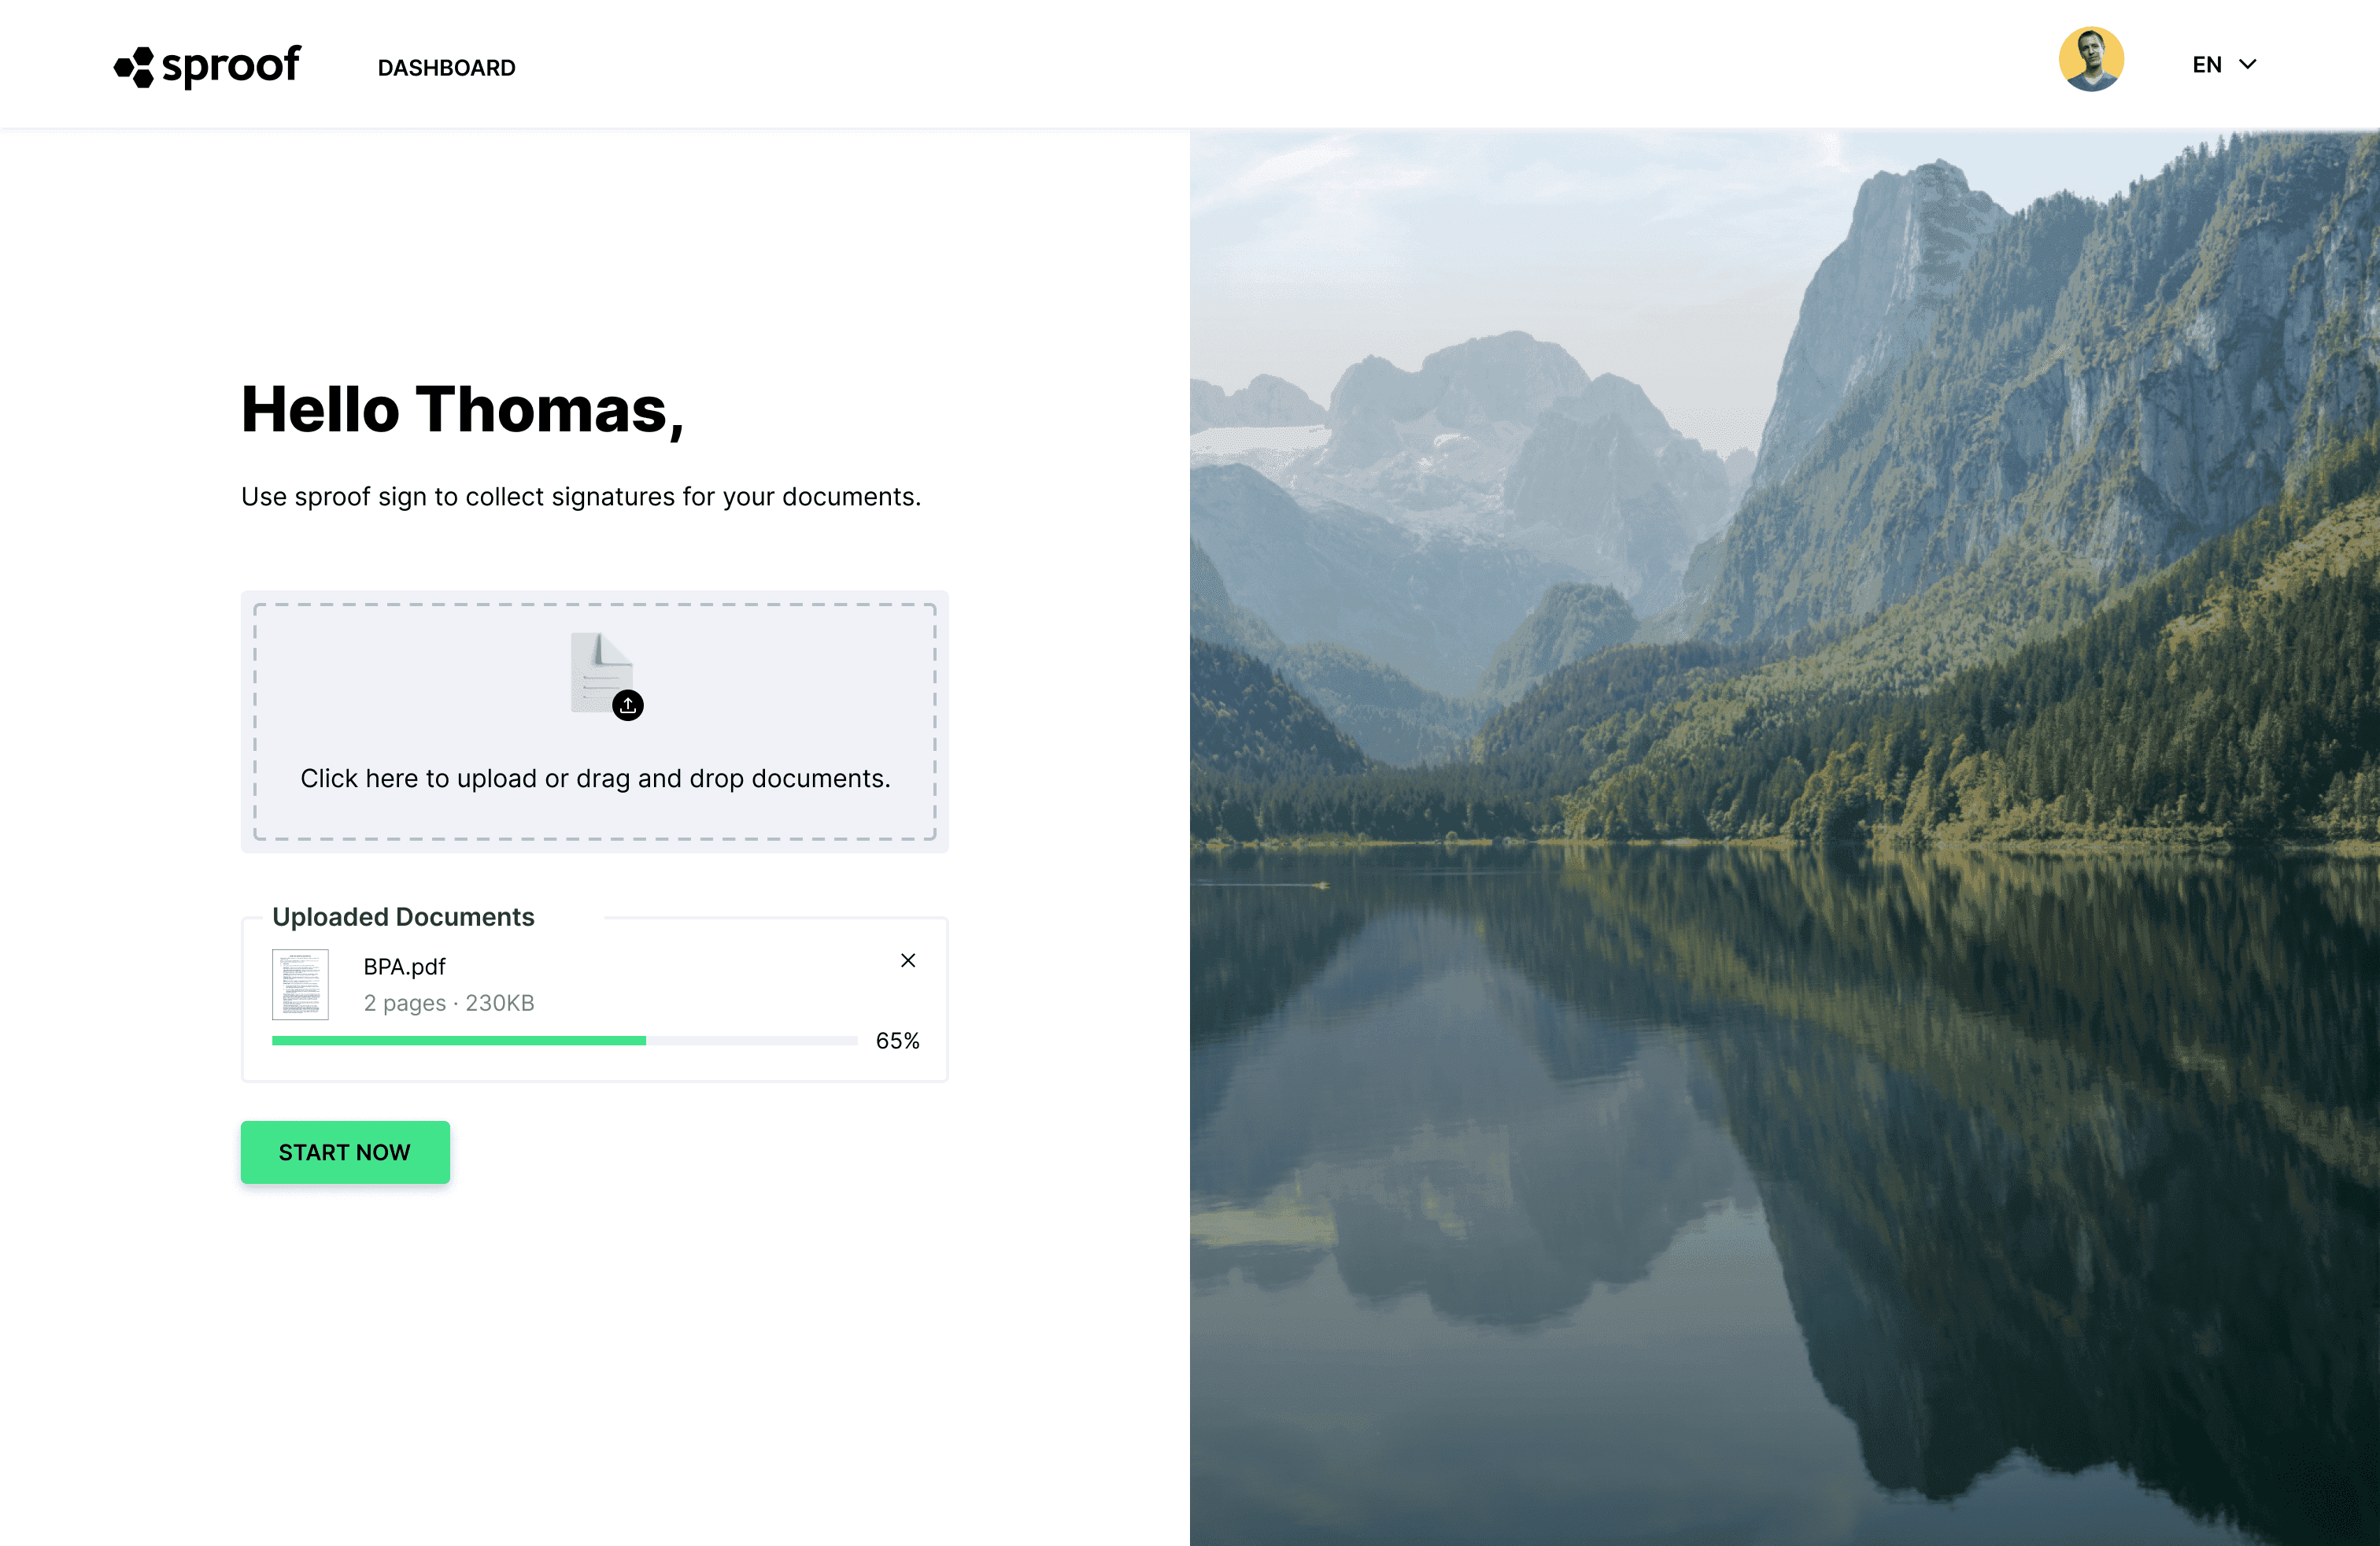
Select your desired document or drag and drop the document onto the gray upload area. Then click "Start Now" and the document will be uploaded.
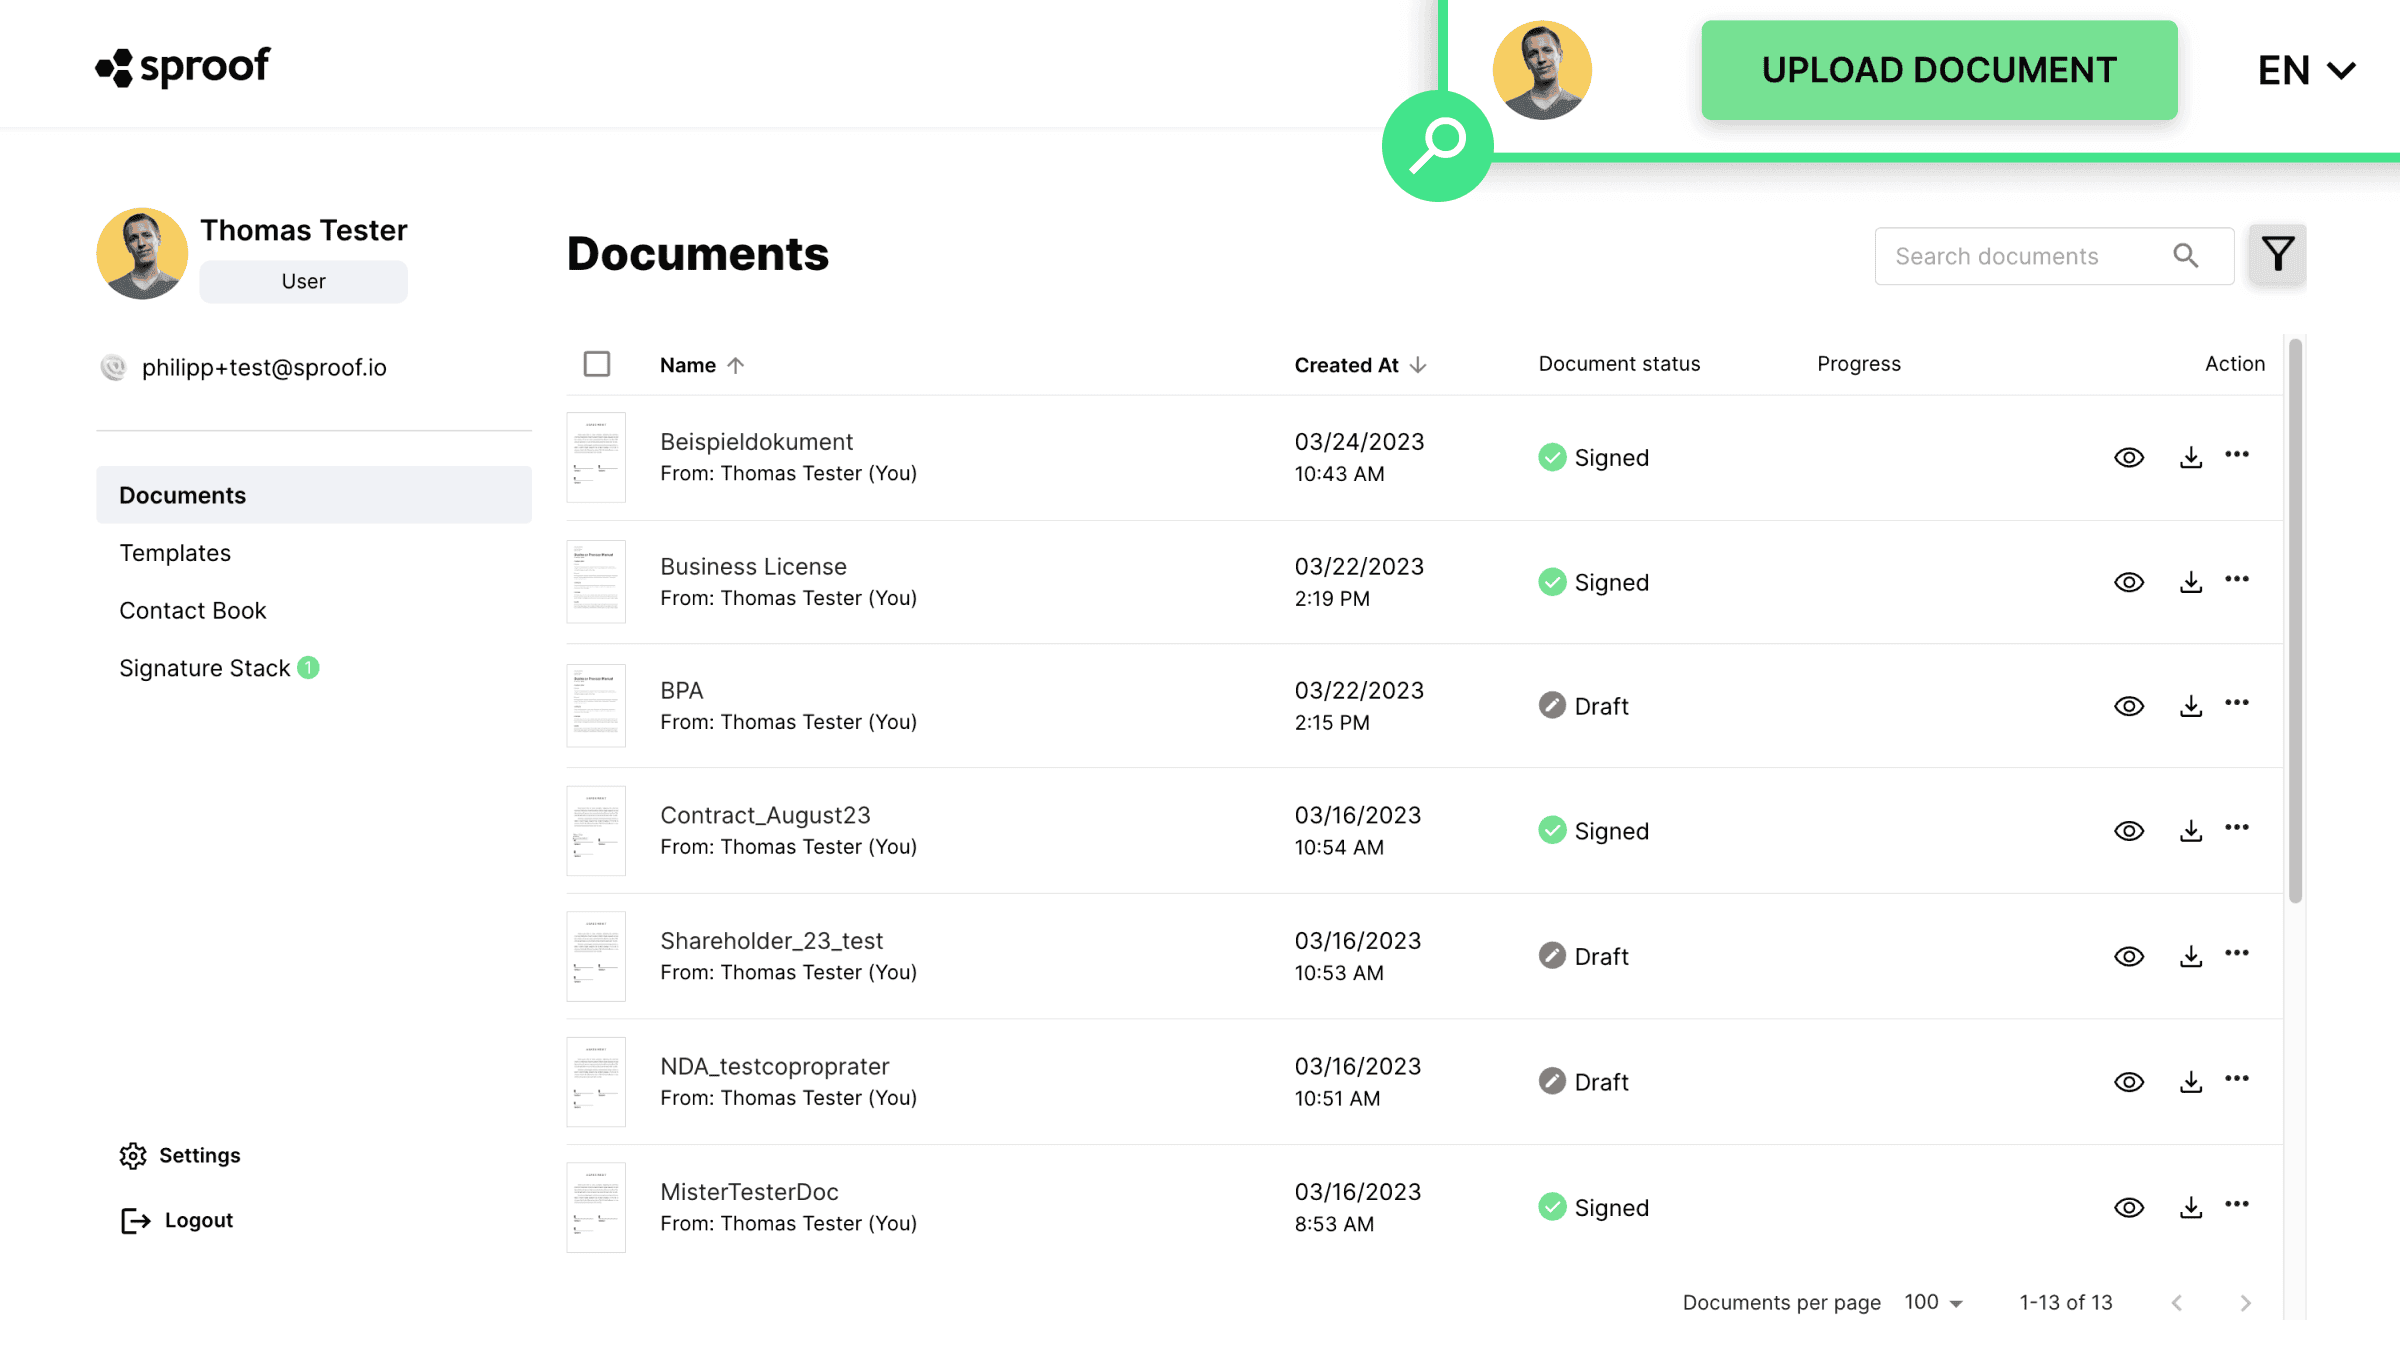
Open the document by clicking on the document name in the dashboard.
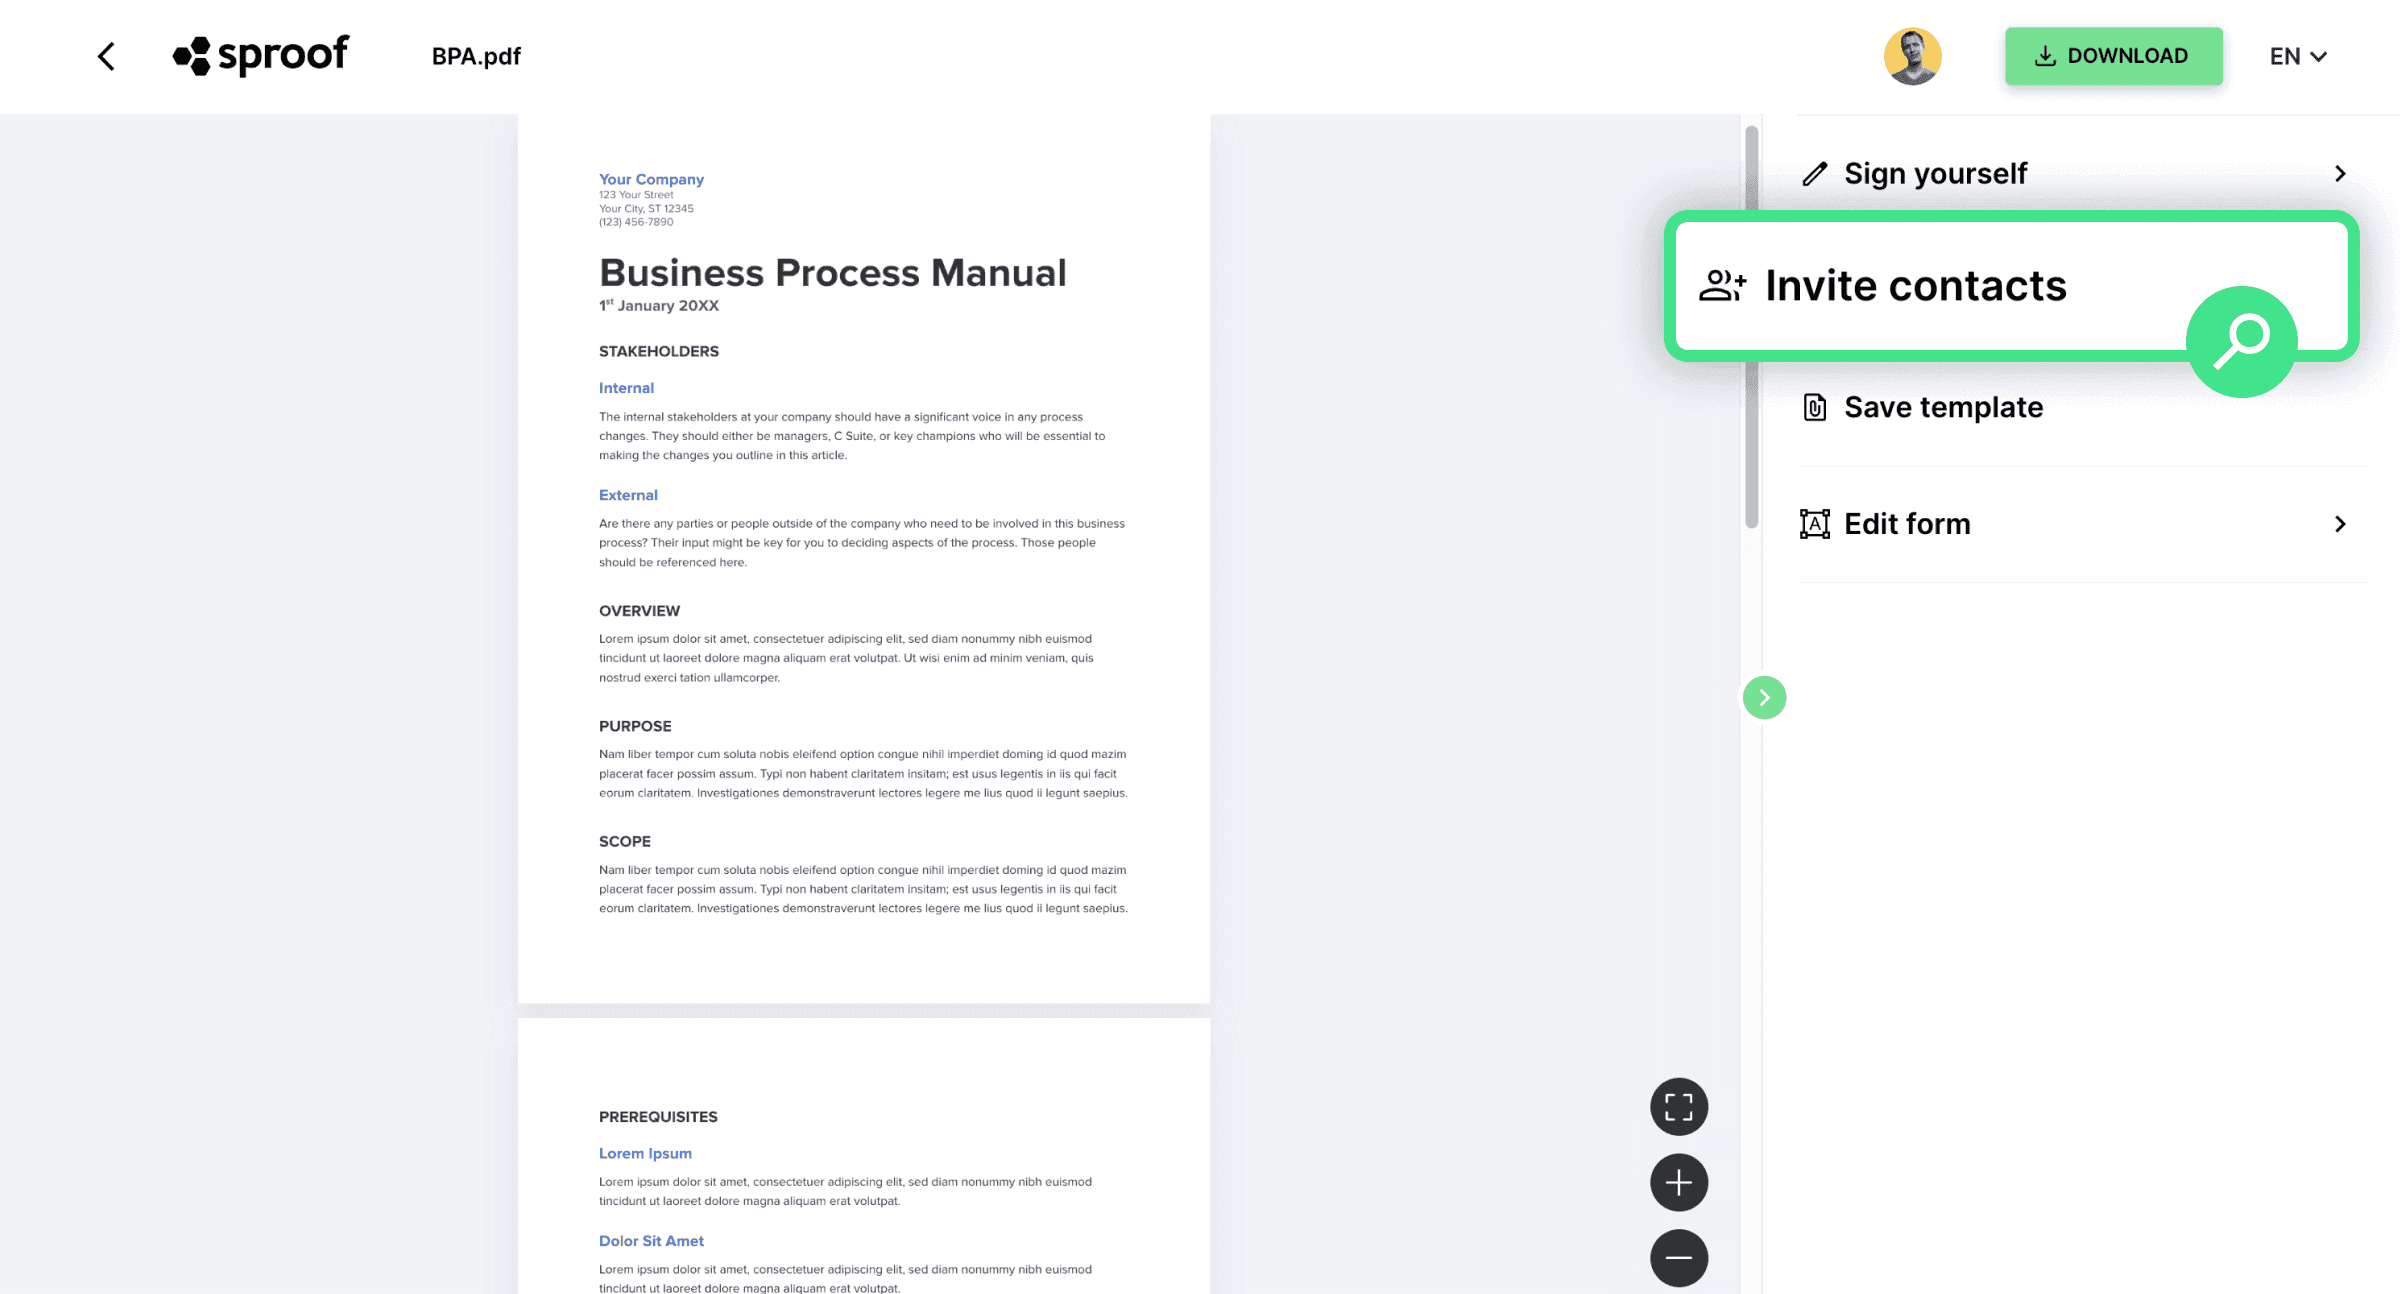
Open the "Invite contacts" tab.

Enter the mail address of the people you want to invite. Then confirm the entry with "Add contact".
In this section you can optionally define so-called signature workflows. That means you define signature sequences, signature types and specify signature positions. In this tutorial we send out the document without a workflow. You can find a detailed tutorial about signature workflows here .
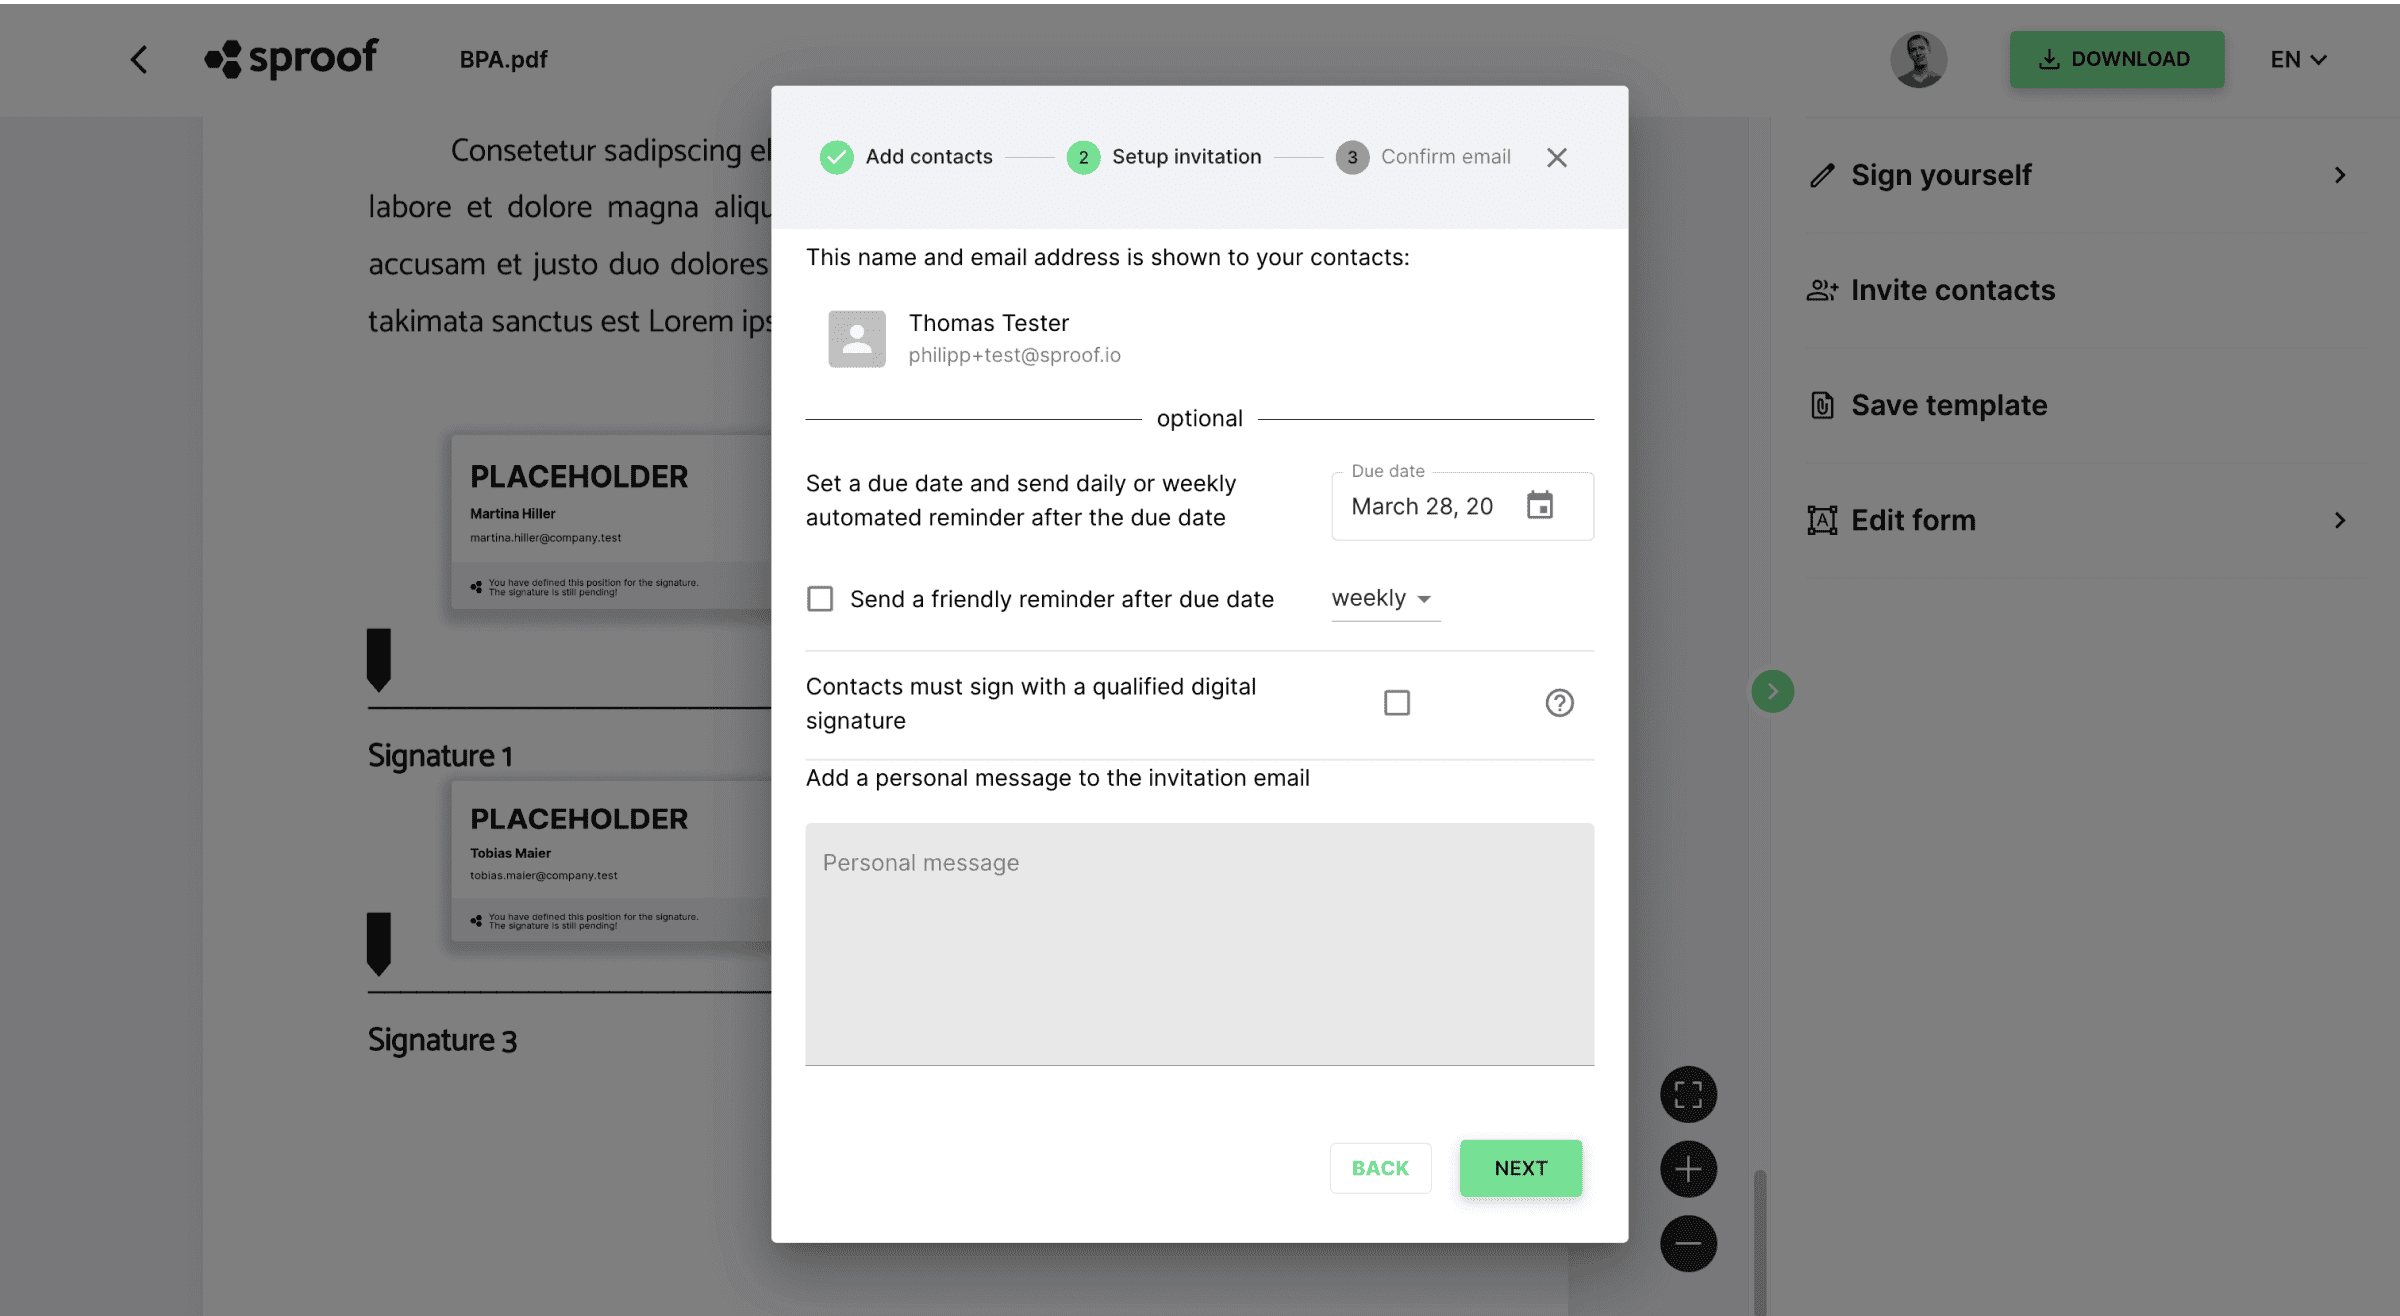
In this window you can set a completion date, send out a reminder and specify that only qualified signing is possible. You can also add a short personal message. Then click on "Next" and finally on "Invite".
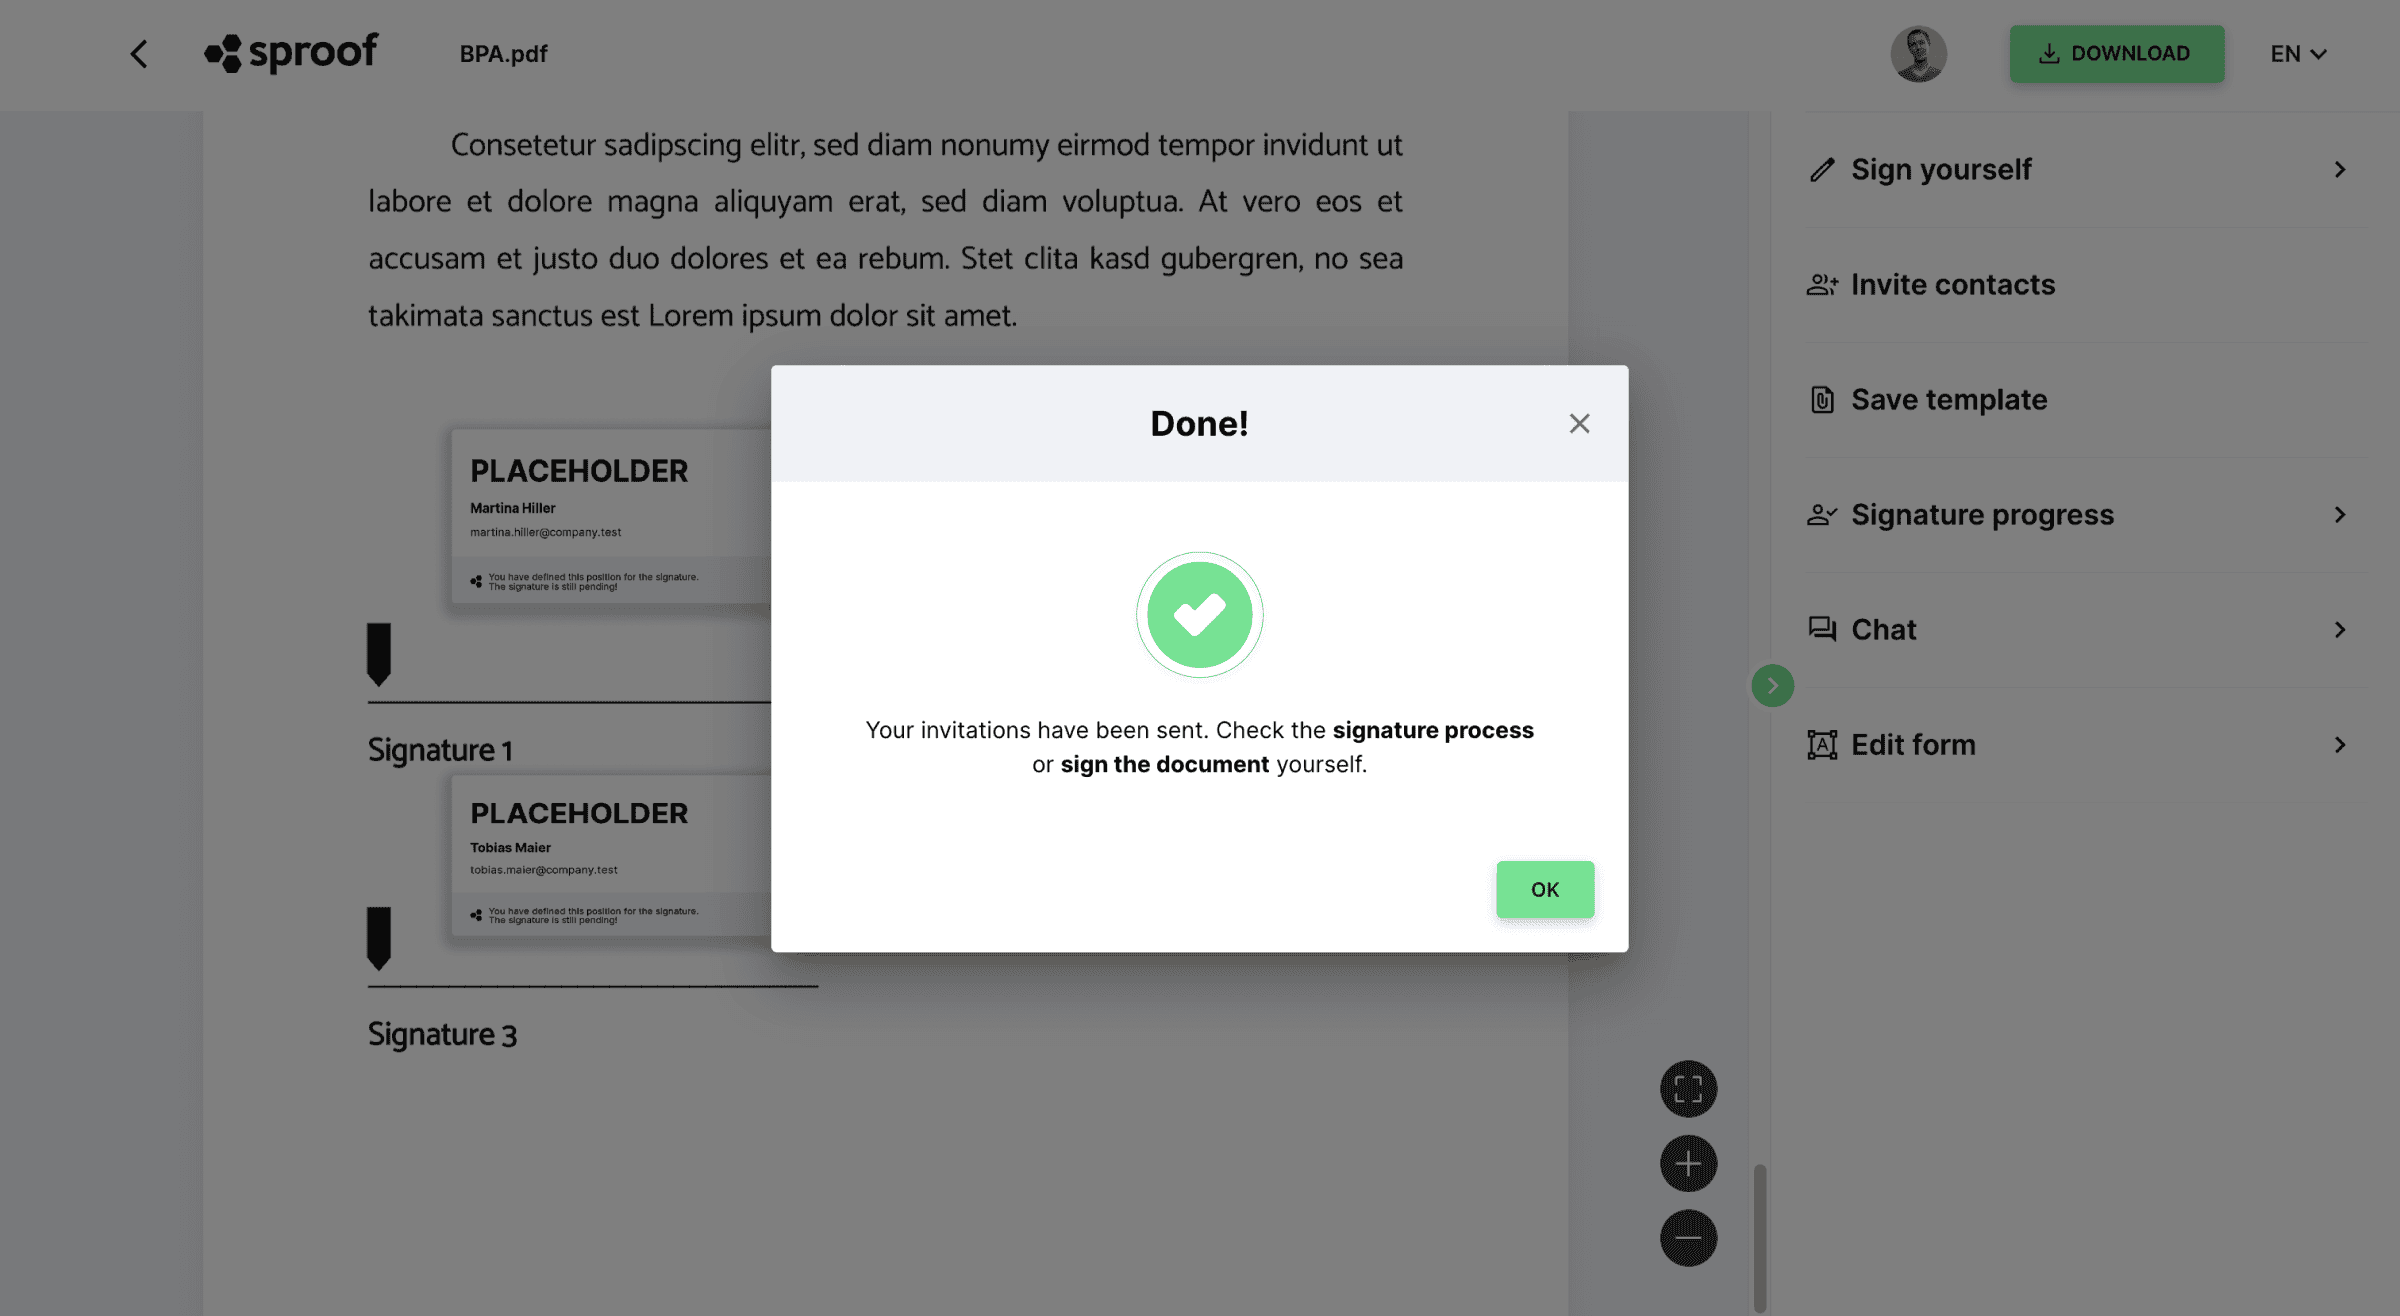
Once the document is sent, you can always keep an eye on the signature progress both here and in the dashboard.
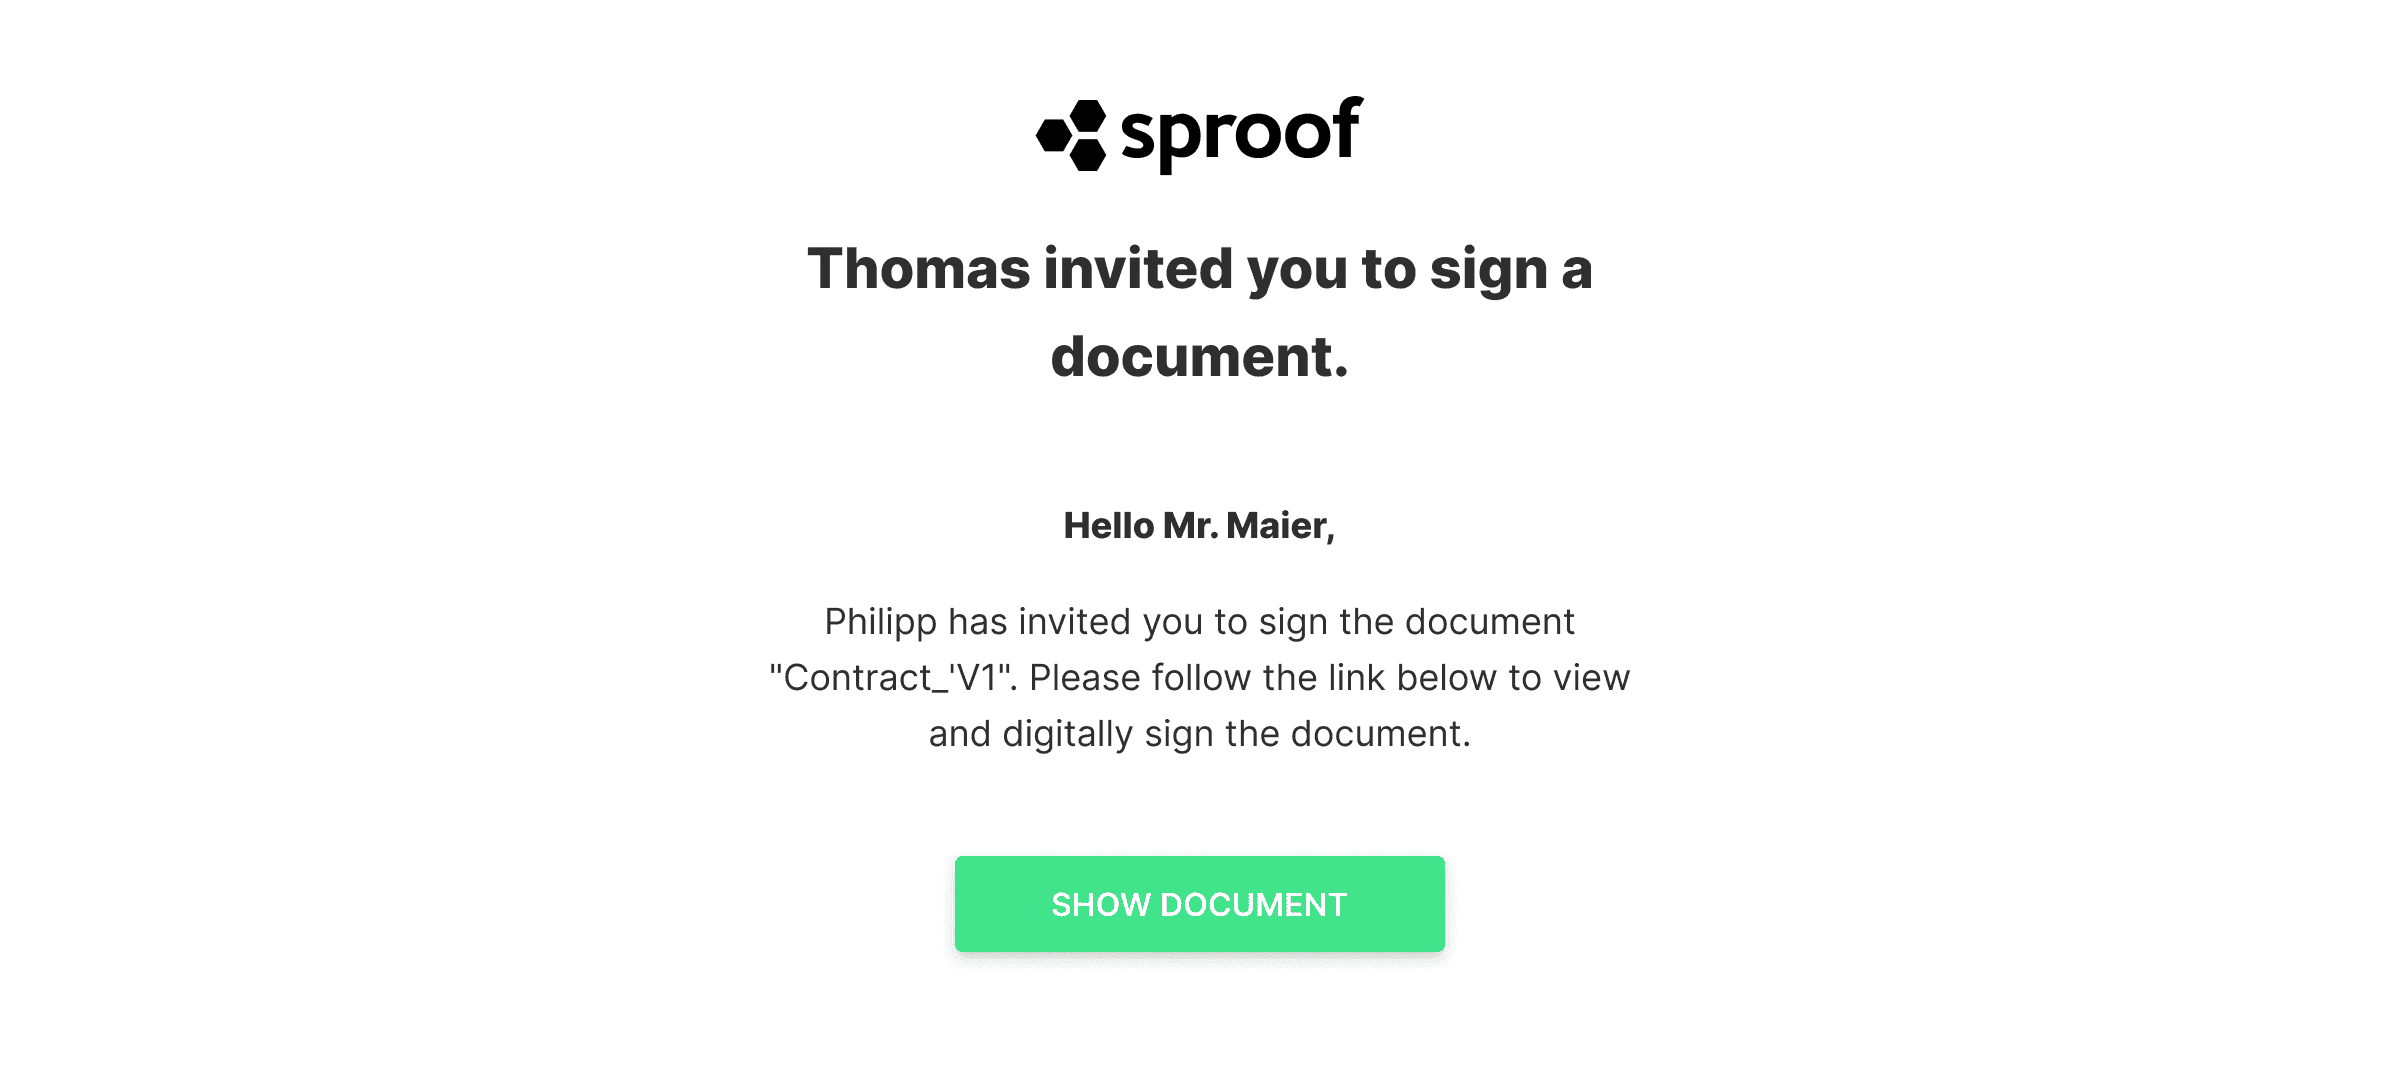
All persons invited to sign will receive an invitation by email and get to the document at the click of a button.
We hope you enjoy the ease of collecting signatures with sproof sign.